Top 10 tips for better screencasts
 A screencast is a video of what’s happening on a computer screen, usually with a narration. More sophisticated recordings can include highlighting, arrows, and other effects. Cross-platform software in this genre includes Screencast-O-Matic and several titles by TechSmith.
Riding the wave of flipped learning, lots of faculty are now screencasting PowerPoint slideshows, course introductions, short lectures, and software tutorials. What follows is an unscientific take on the most useful advice for making a good screen recording. You can read the tips or watch them as a screencast!
- Work from a script – think ahead and plan what you will say. This saves time and makes captioning easier. Read the script out loud before recording.
- Make it short – to address the yawn factor, keep each video to a maximum of six minutes by dividing the content into meaningful chunks.
- Clear the deck – quit everything on your computer except for the software and documents you need. Remove items from the computer desktop if students will see it.
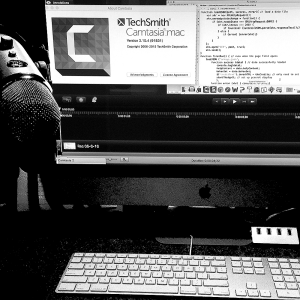
- Reduce the racket – record in a quiet location and do what you can to minimize background noise. A sound booth is great if you have access to one.
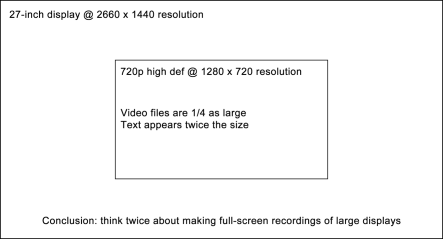
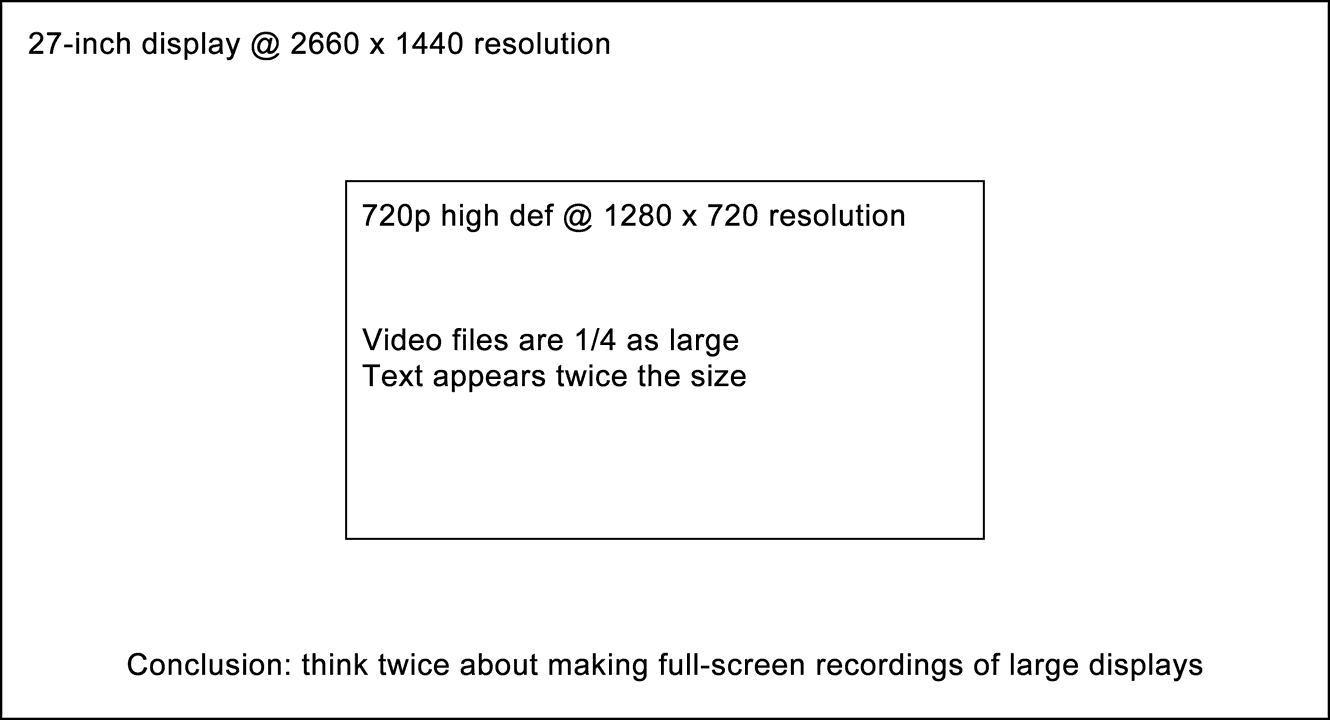
- Shrink the screen – capturing a large display at high res will yield tiny text and blurry images. For an HD video set the screen to 1280 x 720 pixels (Mac | Windows).
- Speak clearly – force yourself to enunciate, particularly if you’re normally a fast talker. Breathe. Try to sound like you’re conversing, not reading an insurance policy.
 Get close – put your mouth about eight inches from the microphone. Don’t be shy. To avoid puff sounds direct your breath above the mic or use a wind screen.
- Move slowly – students often need to see where you’re pointing. They can’t do that if you’re zipping back and forth at 90 miles per hour.
- Keep recording – software can delete mistakes, so you don’t have to hit Stop when something goes wrong. Just re-do the offending segment and cut it afterwards.
- Play nicely – upload your videos to a site like YouTube, where any device – computer, tablet, or phone – can view them and students won’t have to download large files.
It does NOT have to be perfect
Students don’t expect Hollywood quality from your home-made video. It’s okay to make small slips and correct them right away – without deleting later on. Hearing a few ums and ers can help students relate to you. Try not to spend hours nitpicking; remember that perfection is not possible when you’re live in the classroom.


Trackbacks