
I recently did some 3D printing with my class.
It is much easier than you might first think!
The children started off by using a free program called Blender (download it by clicking here). This allows you to create 3D models.
![]()
Firstly, we showed the children some ways to add shapes, planes and 3D objects – then we let them have an experiment with the software in pairs. There are many great ‘beginner’ YouTube videos you can show these to your pupils. We went for one which explained the steps to create a robot (there are 3 videos in the series):
Teaching tip: In the 3rd and final video, it explains how to set up the model; ready to be 3D printed. Highlight these points to the class:
- Check the model carefully – everything must be joined and aligned correctly.
- Make sure the scale is correct – make models no larger than 10cm tall.
- Export in the right file format (STL works well).
After they finished, the challenge was for the children to use the skills they had learnt, and apply them to add some extra things to the robot. Here’s a student attempting to add antennae to his robot:
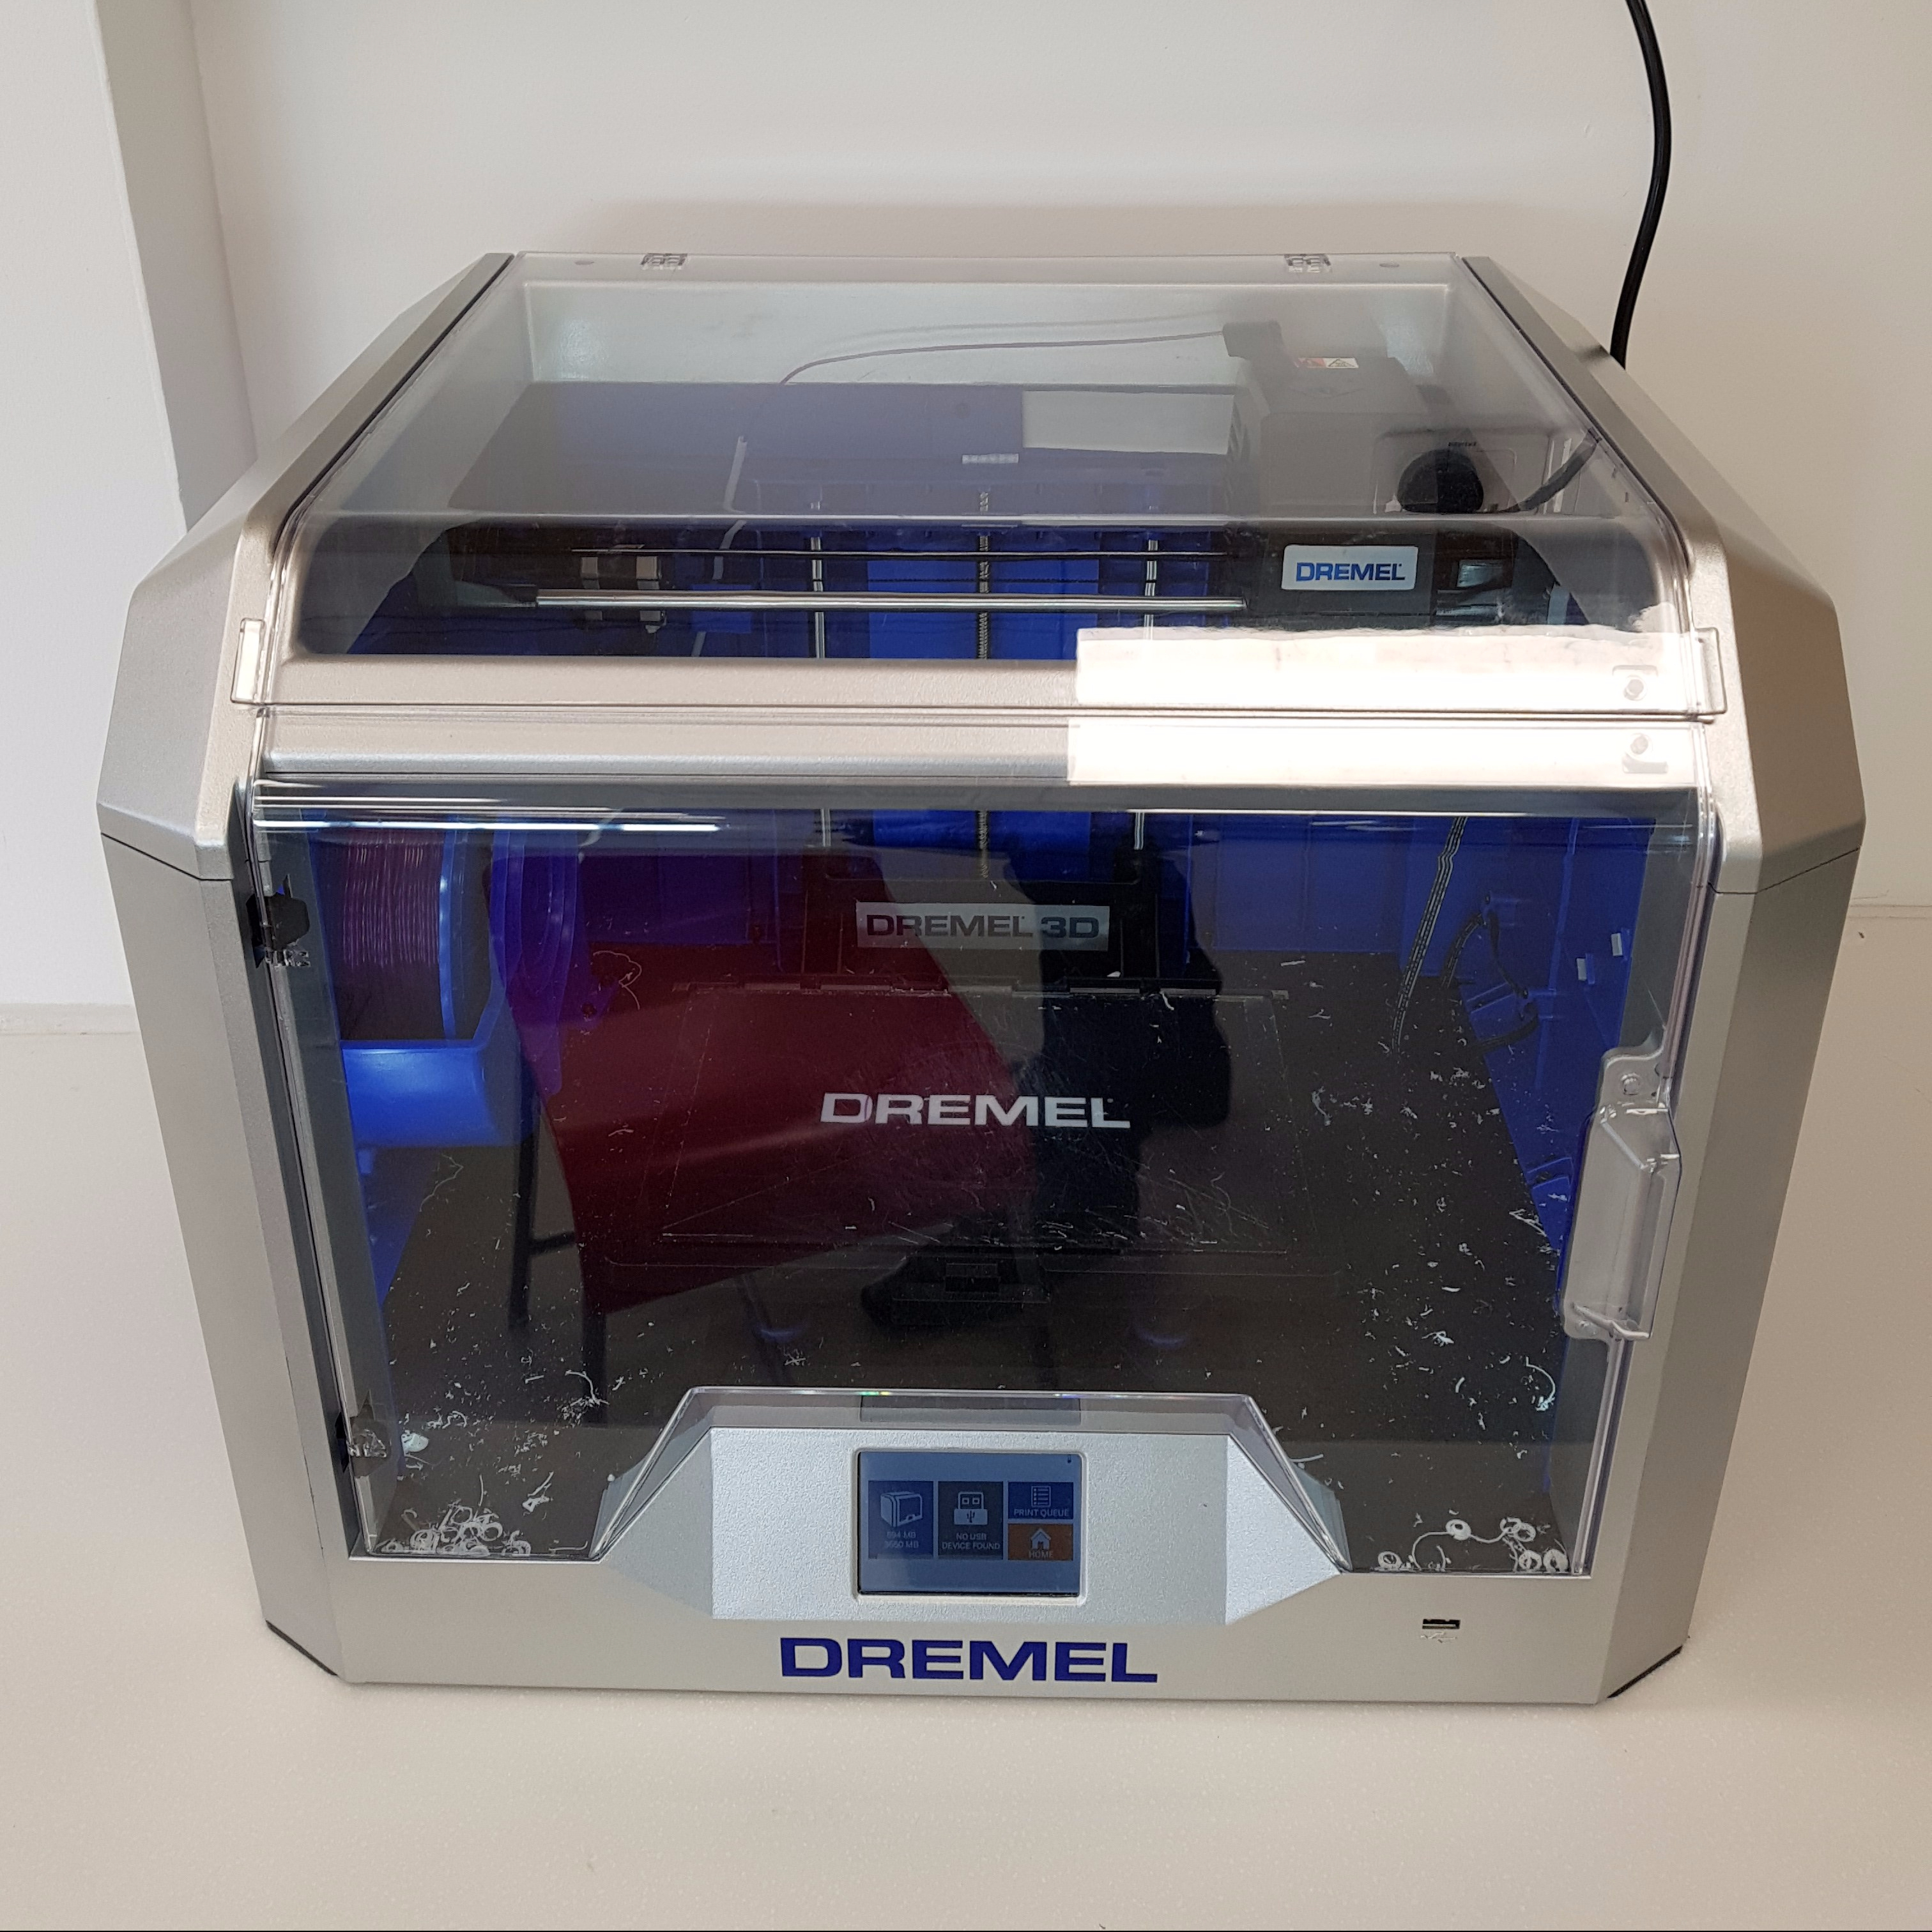
Finally, some of the children printed their creations. For this, we used a Dremel printer:

It comes with it’s own software which turns the Blender file into a 3D printing file:
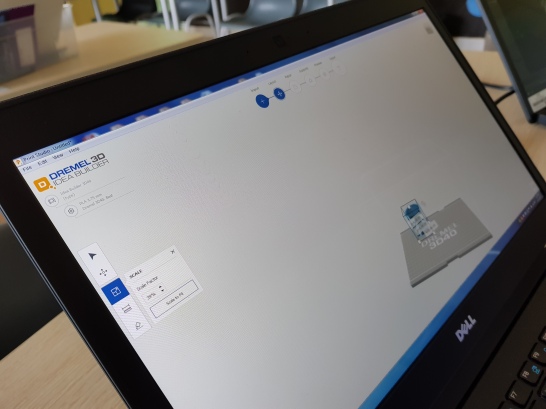
Finally, load it onto a USB, plug this into your 3D printer and go!
Following the lesson, if you want to go further with 3D design – another great source for Blender tutorials comes from the ‘Blender Guru’. Have a look at: https://www.blenderguru.com/
Have a go yourself. Even if your school doesn’t have a 3D printer, try some 3D design – children love it!


1 Comments