
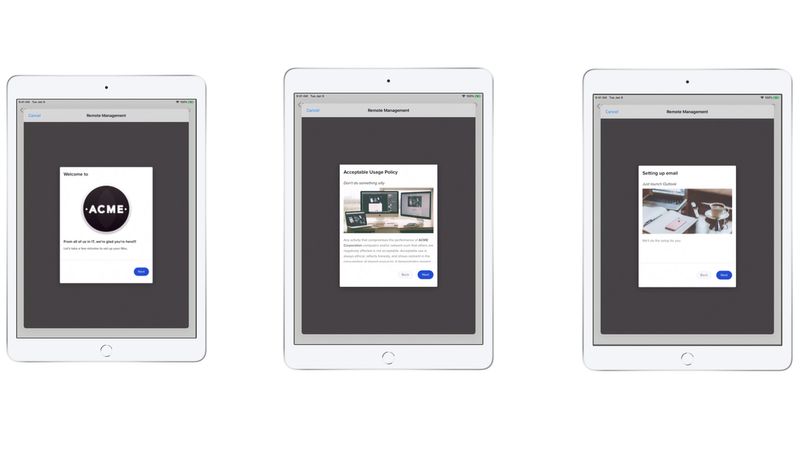
The first day at a new job is stressful, but the technology onboarding experience doesn’t have to be. When new employees fire up their Mac, iPad or iPhone for the first time, you can make the experience unforgettable and unique to your organization with the new Enrollment Customization screen features in Jamf Pro 10.17.
For the first time, IT admins can make their enrollment screens easier to read and more engaging to their end users during Automated Enrollment (formerly called Device Enrollment Program). You can customize the entire enrollment experience with text, images and more!
Unlike other device management solutions, Jamf Pro makes Enrollment Customization with macOS Catalina and iOS 13 open and flexible to any experience through native markdown language capabilities.
Markdown is a markup language similar to HTML that formats text using plain text characters like #, *, _ . Other Markdown-compatible areas of Jamf Pro include Self Service, User-Initiated Enrollment and Maintenance pages. Formatting options include:
- Seven sizes of text
- Bold text
- Italic text
- Images (including animated GIFs)
- YouTube videos
- Bullets lists
- Numbered lists
For a guide to customization options, head to Jamf Nation: https://docs.jamf.com/technical-articles/index.html?contextId=385
To create Enrollment Customization screens in Jamf Pro:
1. Log in to Jamf Pro and choose Settings > Global Management > Enrollment Customizations.
2. Click the New button to create a set of Enrollment Customization screens.
3. Provide a Display Name and Description for this set of screens such as "Welcome to ACME" and "These PreStage Panes introduce IT and guide new users through setup of their Macs or iPads."
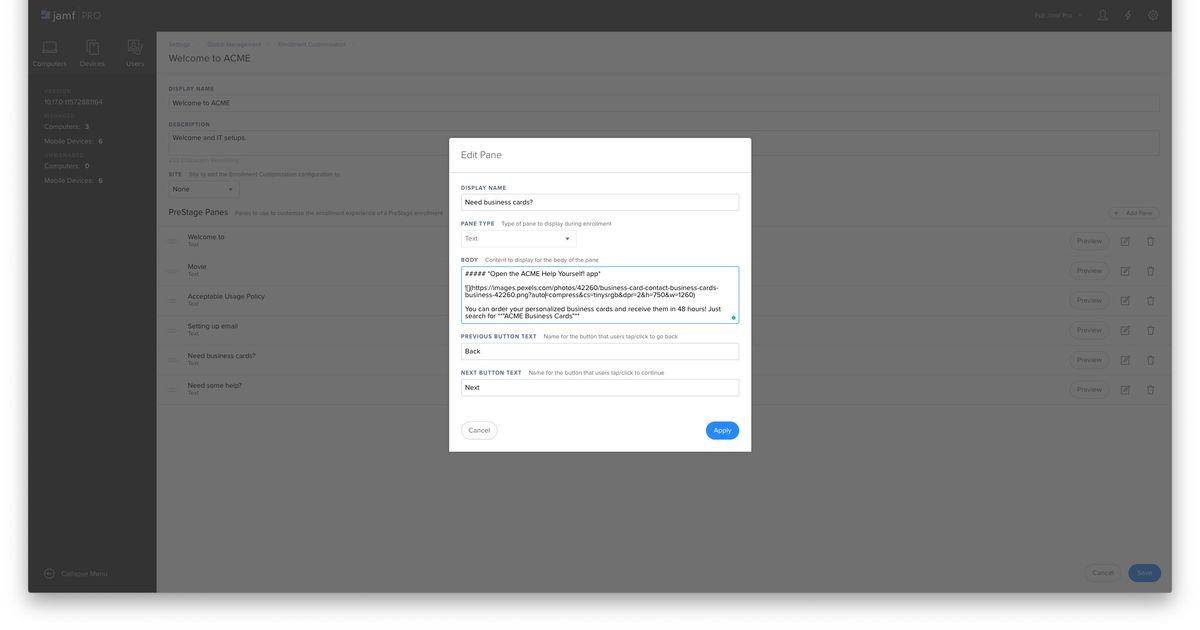
4. Click the Add Pane button to add a Text, Single Sign-On Authentication or LDAP Authentication (e.g., Active Directory) pane. Choose Text.
5. Provide a Display Name. This will appear at the top of the custom window.
6. In the Body field, type or paste Markdown formatted text.
7. In the Previous and Next Button Text fields, enter button names like "Back" and "Next".
8. Click the Add button when done.
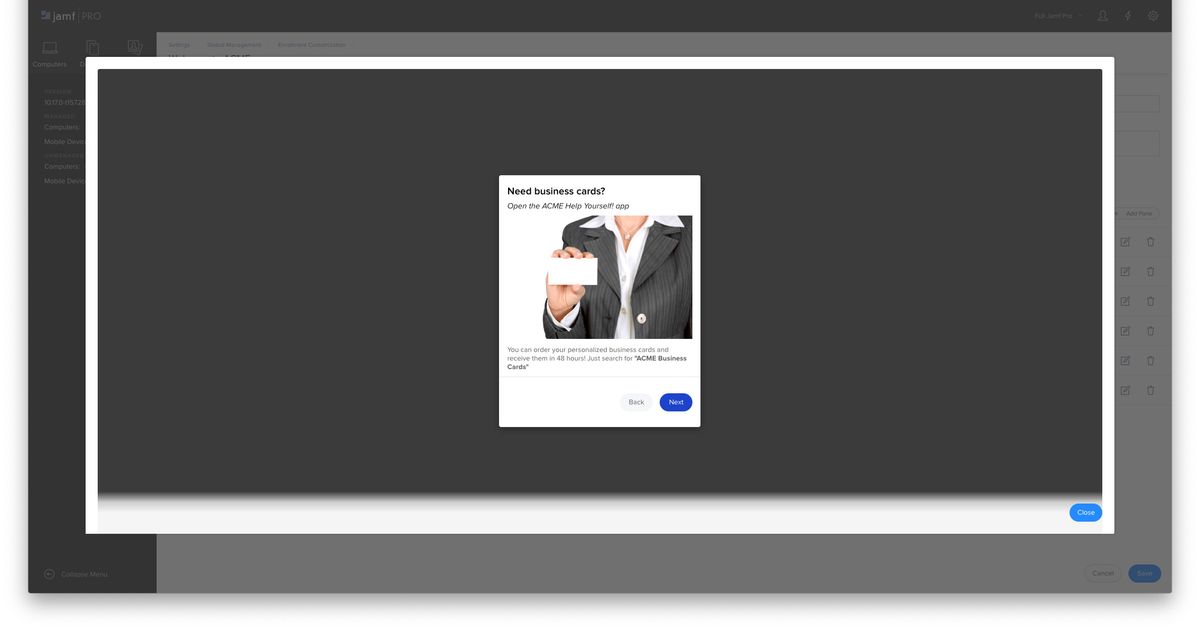
9. Click the Preview button for the new pane to see an example of the final pane.
10. When done with the Enrollment Customization panes, choose either Computers or Devices > PreStage Enrollments and create a new or edit an existing PreStage enrollment.
11. In the General payload, choose the new Enrollment Customization from the Enrollment Customization Configuration dropdown menu.
12. Click Save when finished editing the PreStage Enrollment.
That’s it! Now your new employees can have the branded, unique experience you want each time they enroll their Mac, iPad or iPhone.
Are you interested in learning more about how you can deliver the experience you want for your users? Request a free trial of Jamf Pro today.
by Category:
Have market trends, Apple updates and Jamf news delivered directly to your inbox.
To learn more about how we collect, use, disclose, transfer, and store your information, please visit our Privacy Policy.