
I Trace Photos to Make Clipart. Compare the Before & After!
/
I enjoy drawing my own illustrations, clipart, and avatars. In fact, I made an instructional video for teachers and students you might want to check out.
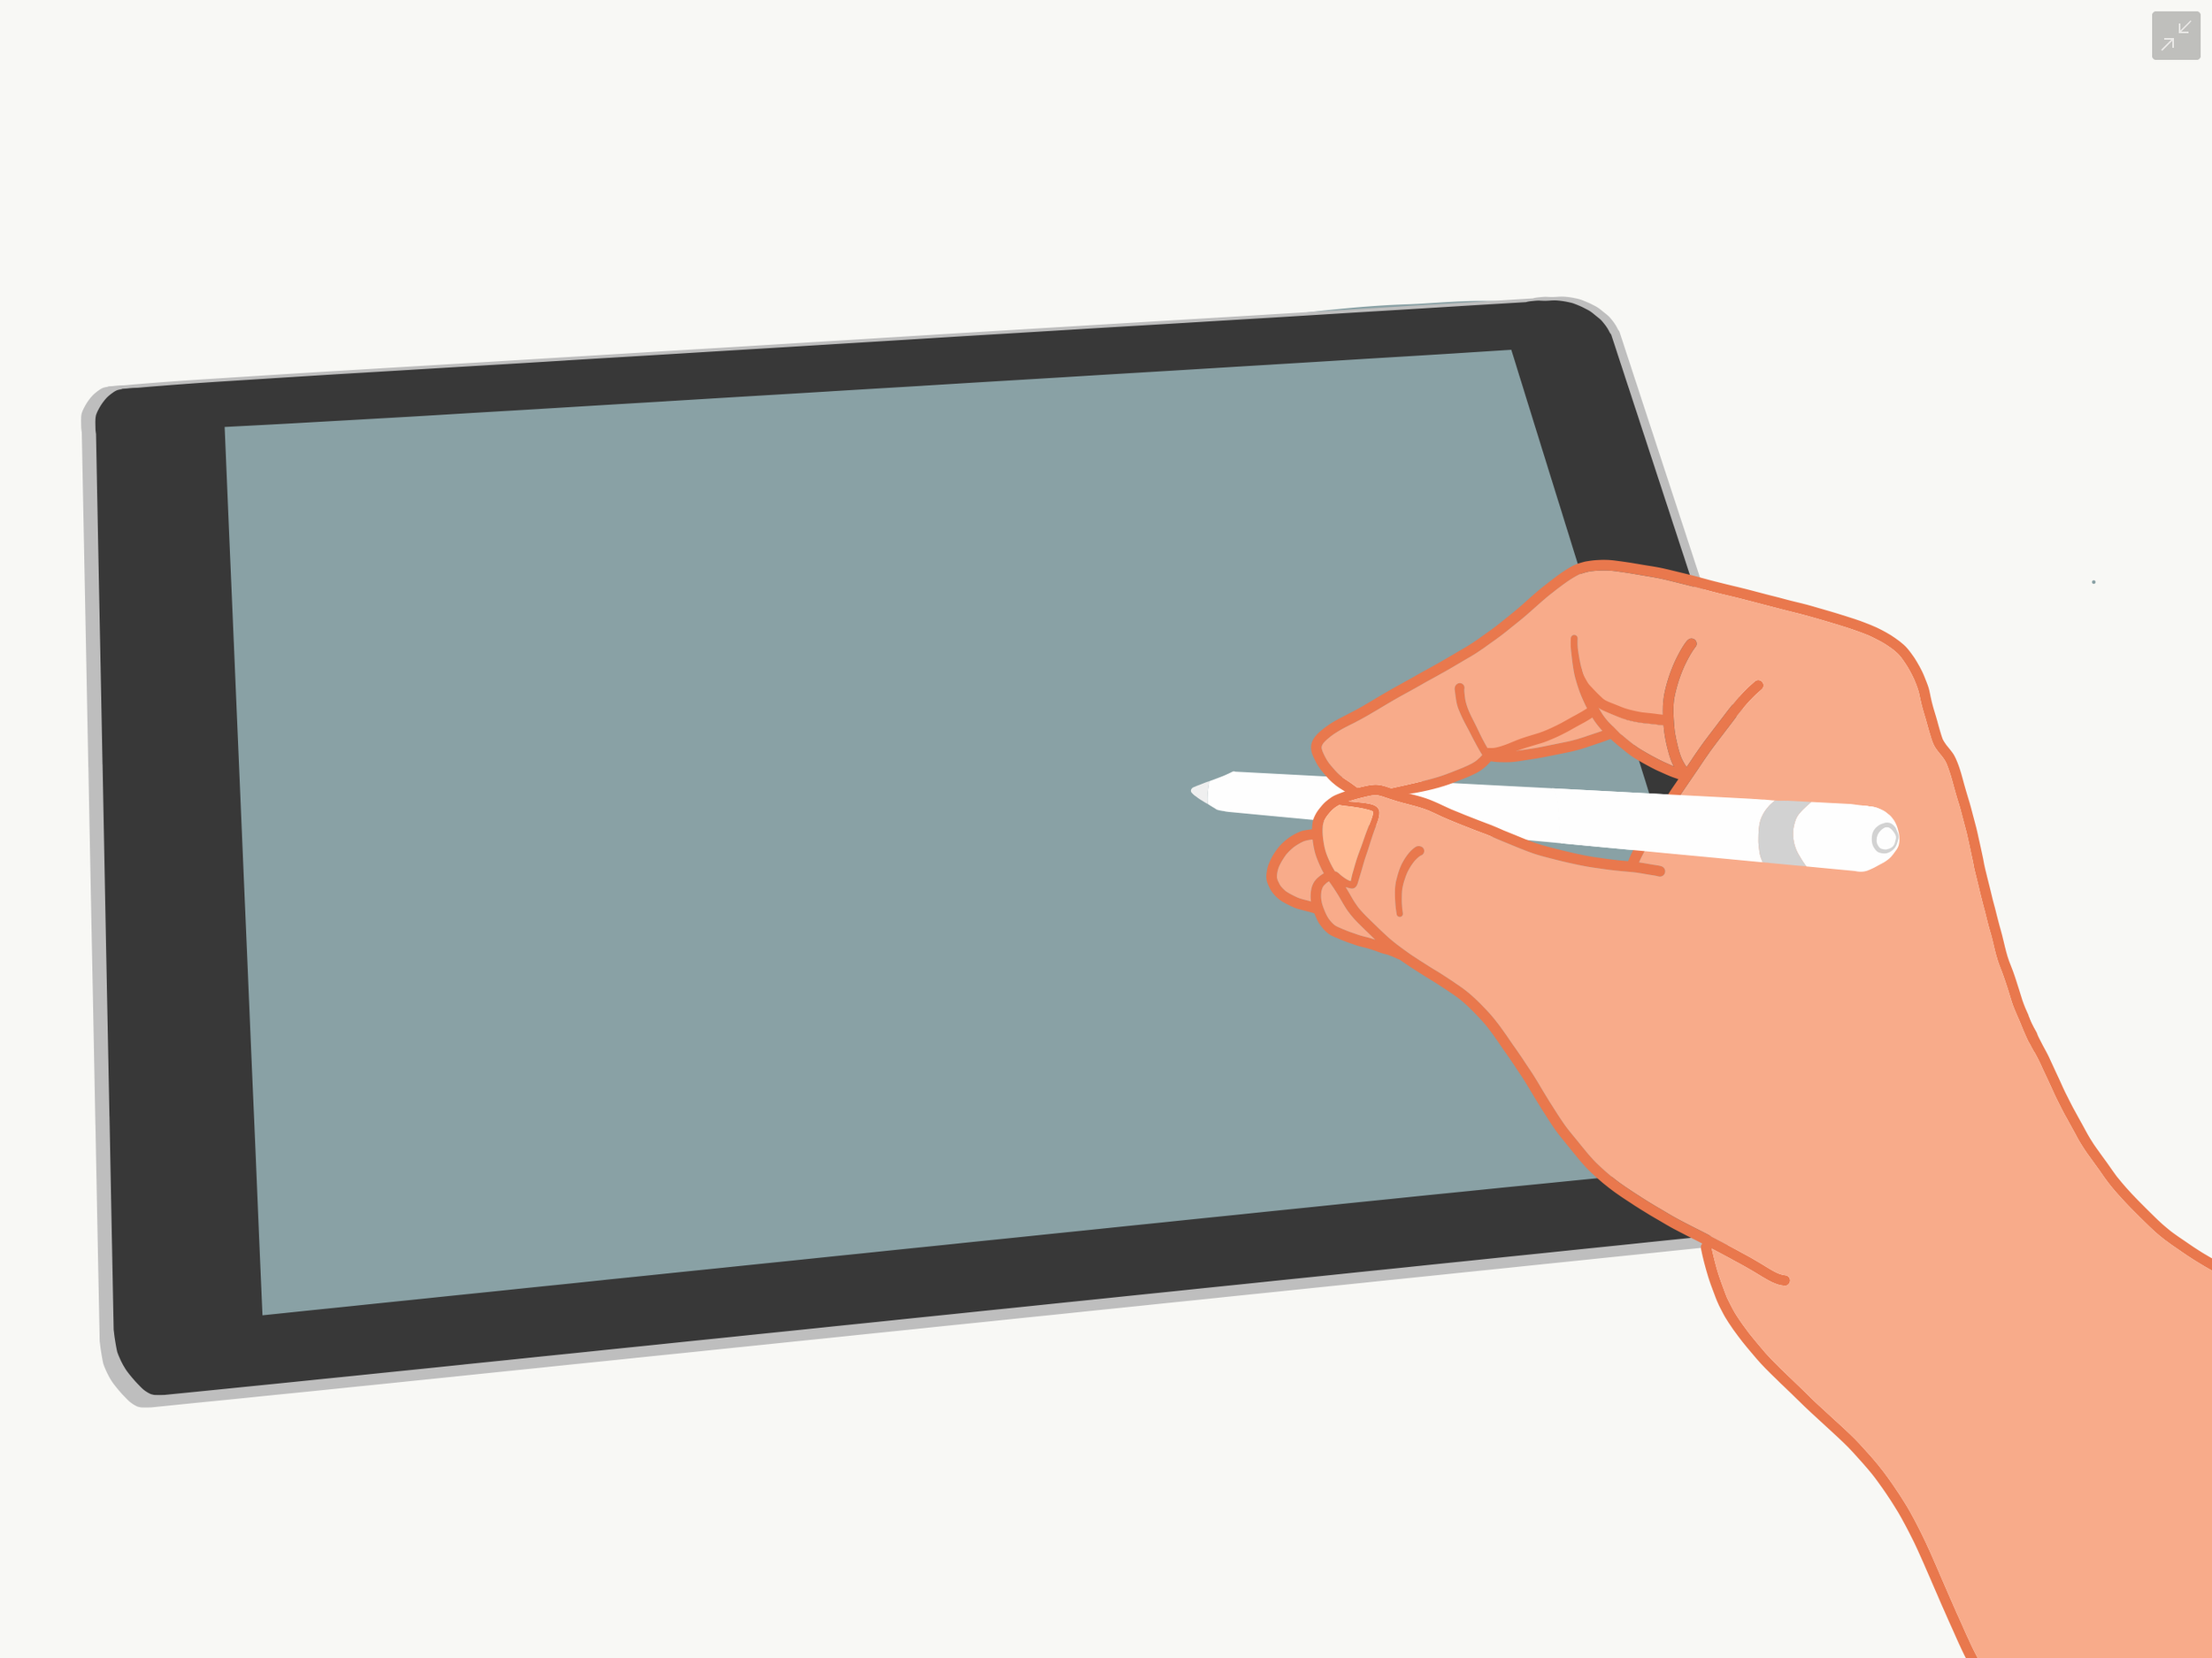
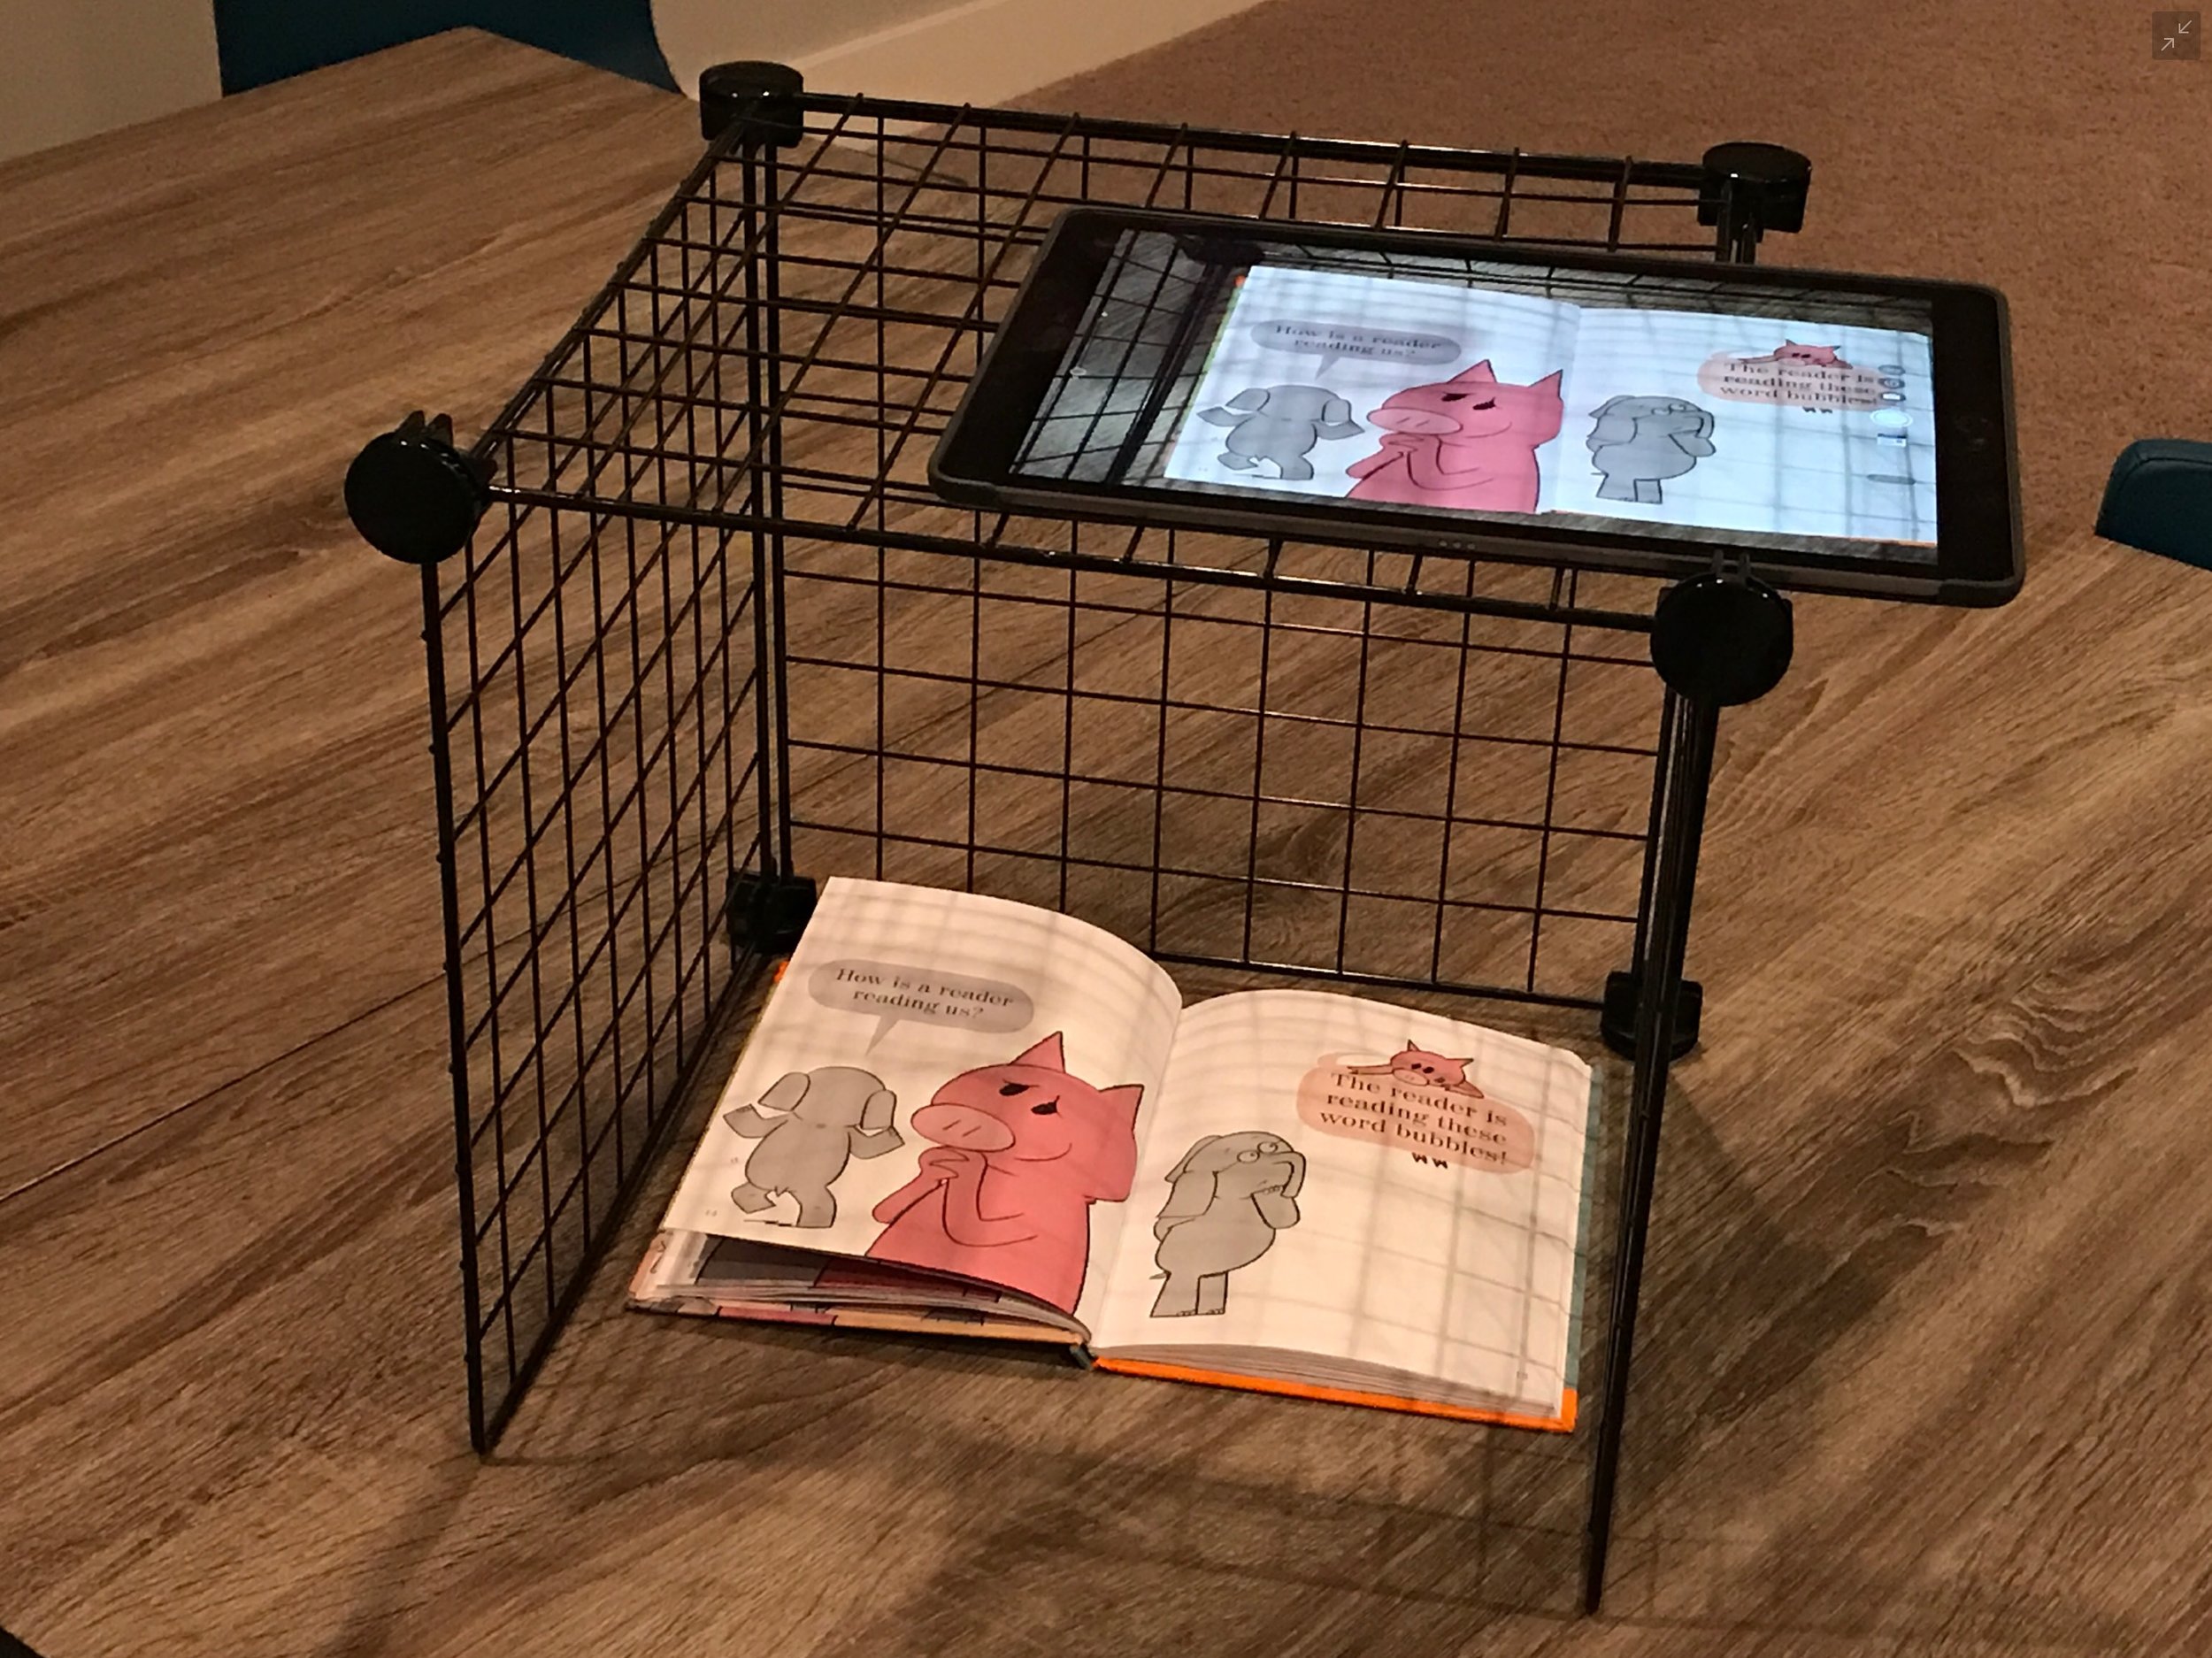
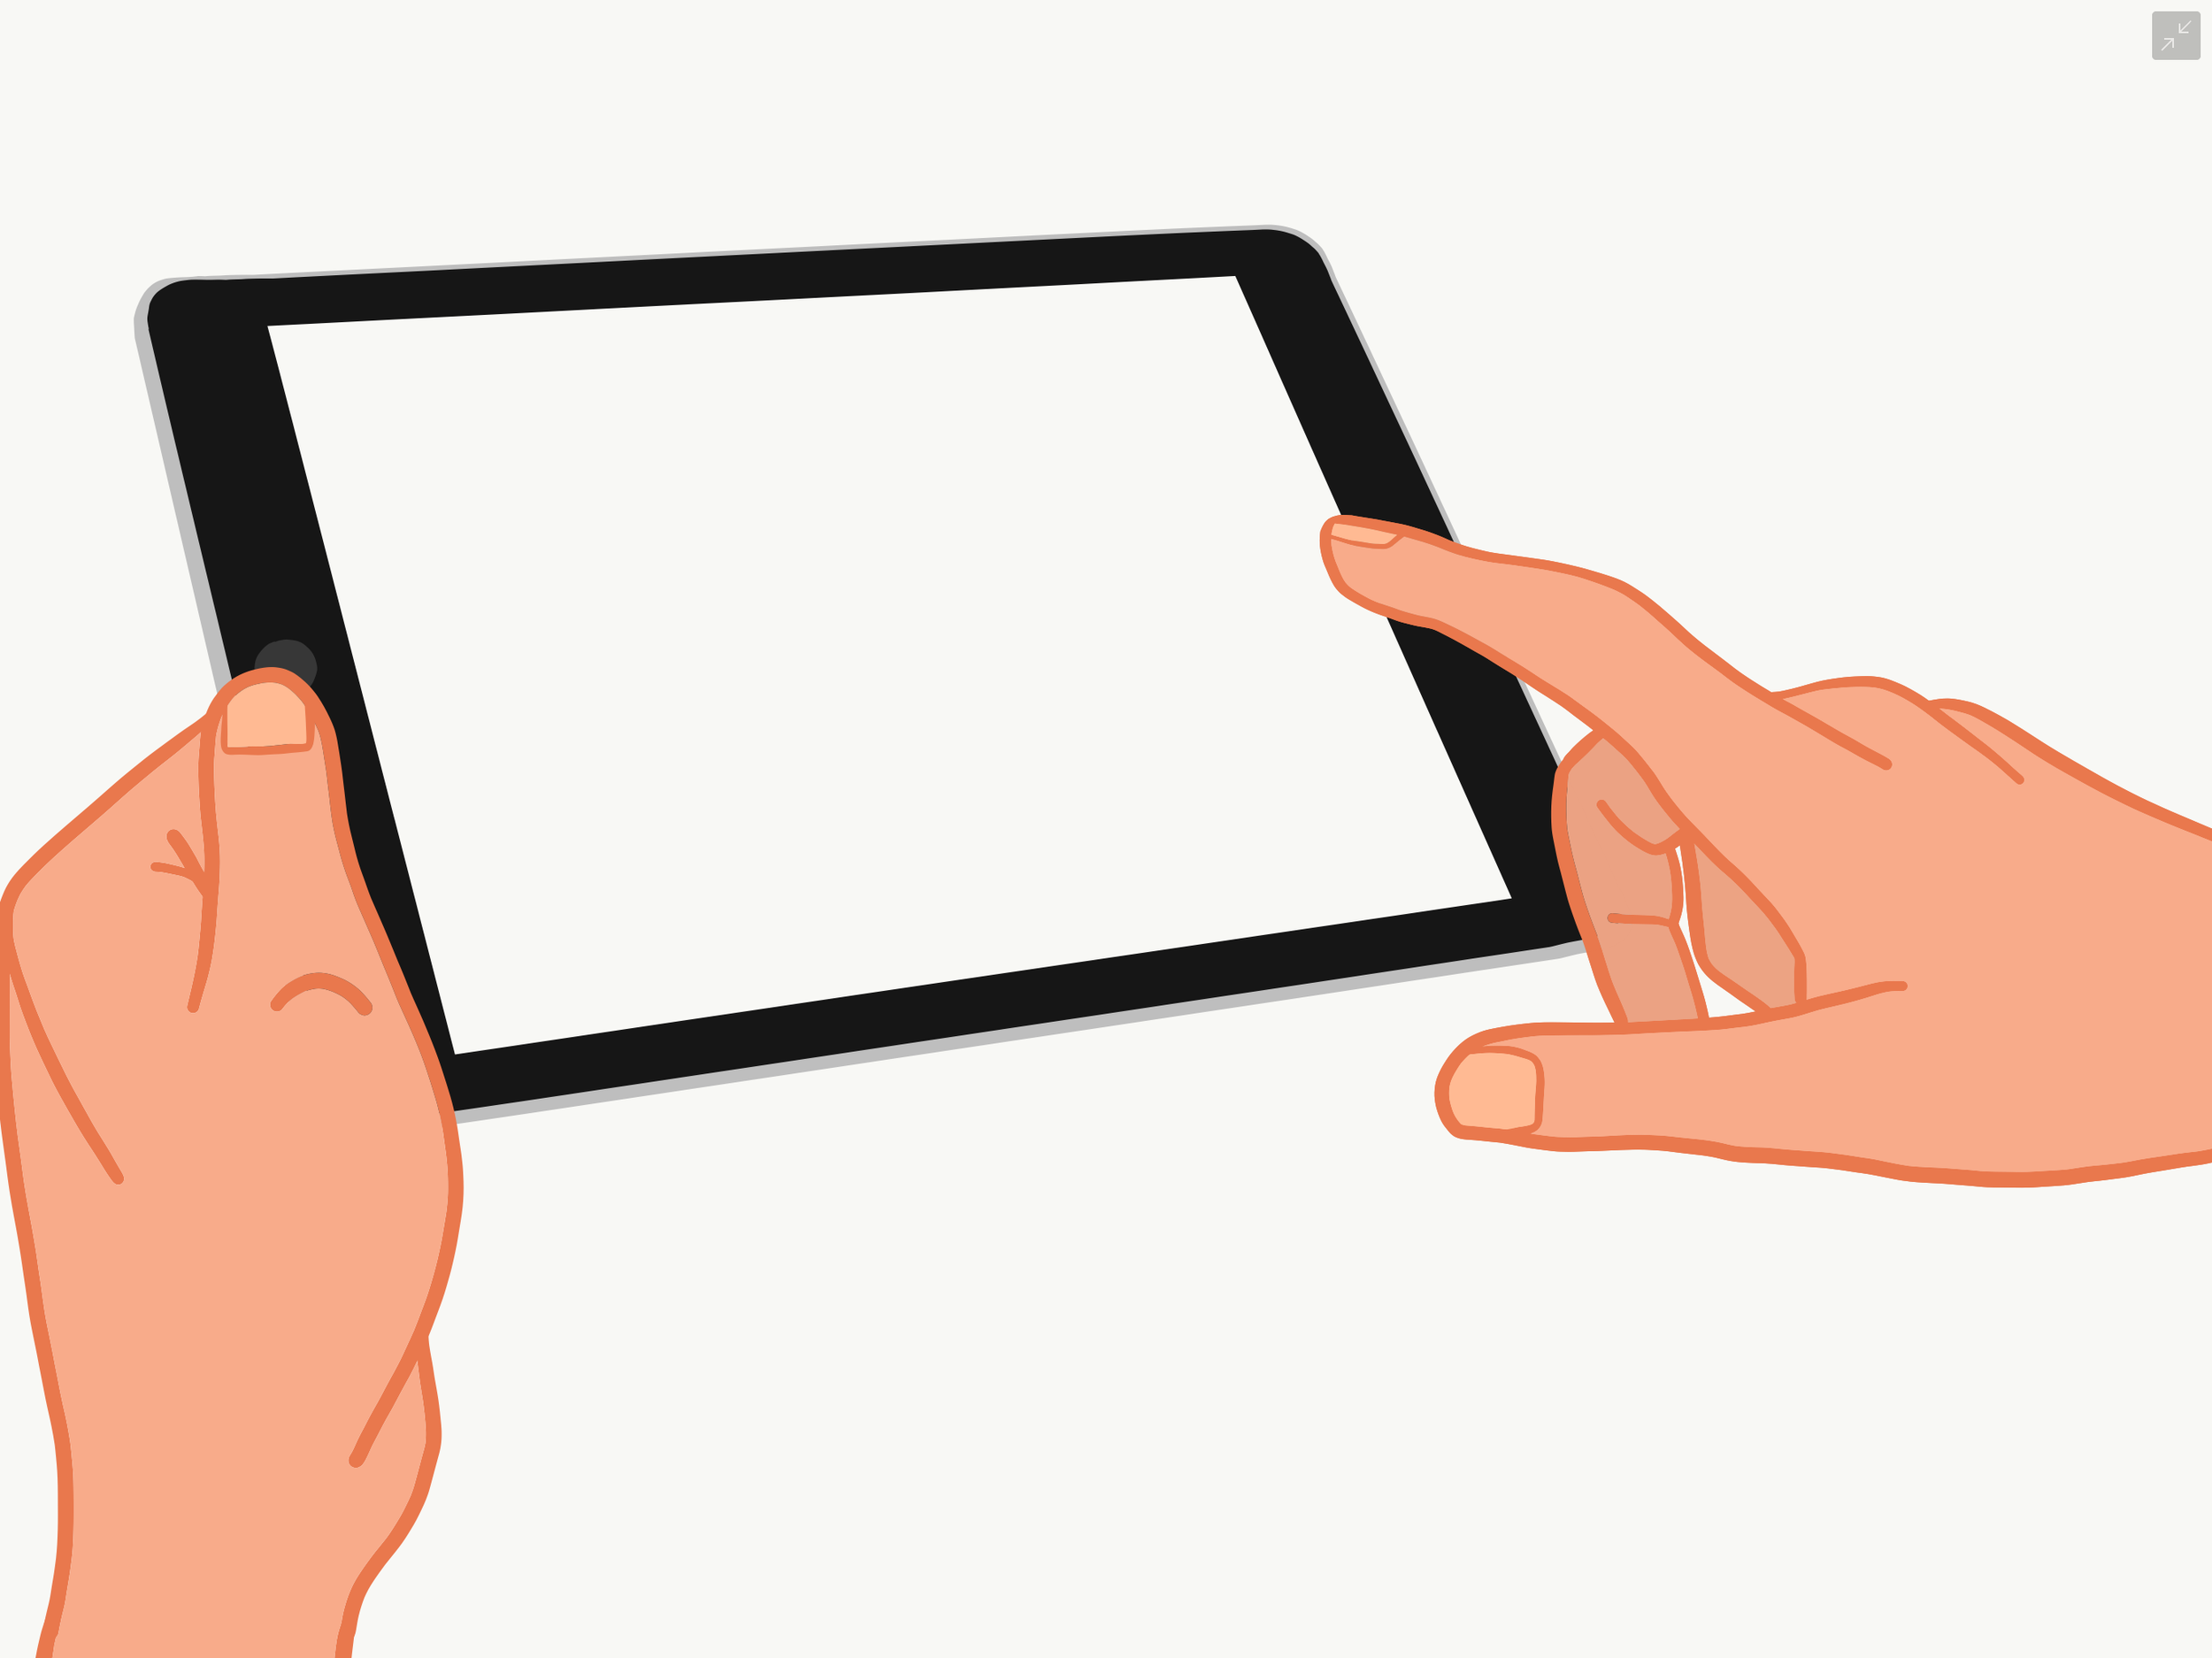
Since my freehand drawings end up looking ridiculous, my drawing technique relies on tracing a photo that’s on a background layer. I draw and fill on a layer on top of the photo and then hide the original photo. This allows my artwork to actually look like the person or object that I’ve drawn. The app I’ve been using for this is Adobe Illustrator Draw. It’s free for iOS and Android. Though, you could use this technique with other apps that support layers.
While a stylus is not absolutely necessary to draw, I prefer to use one. I use an Apple Pencil with my iPad Pro. It helps me draw more precisely than other styluses. However, it is expensive. You can get an Apple Pencil for about $95 on Amazon.

I have now built up a library of hundreds of illustrations. I use them in my presentations and in my social media posts. If fact, check out my @learninginhand Instagram account to see my illustrations in action.
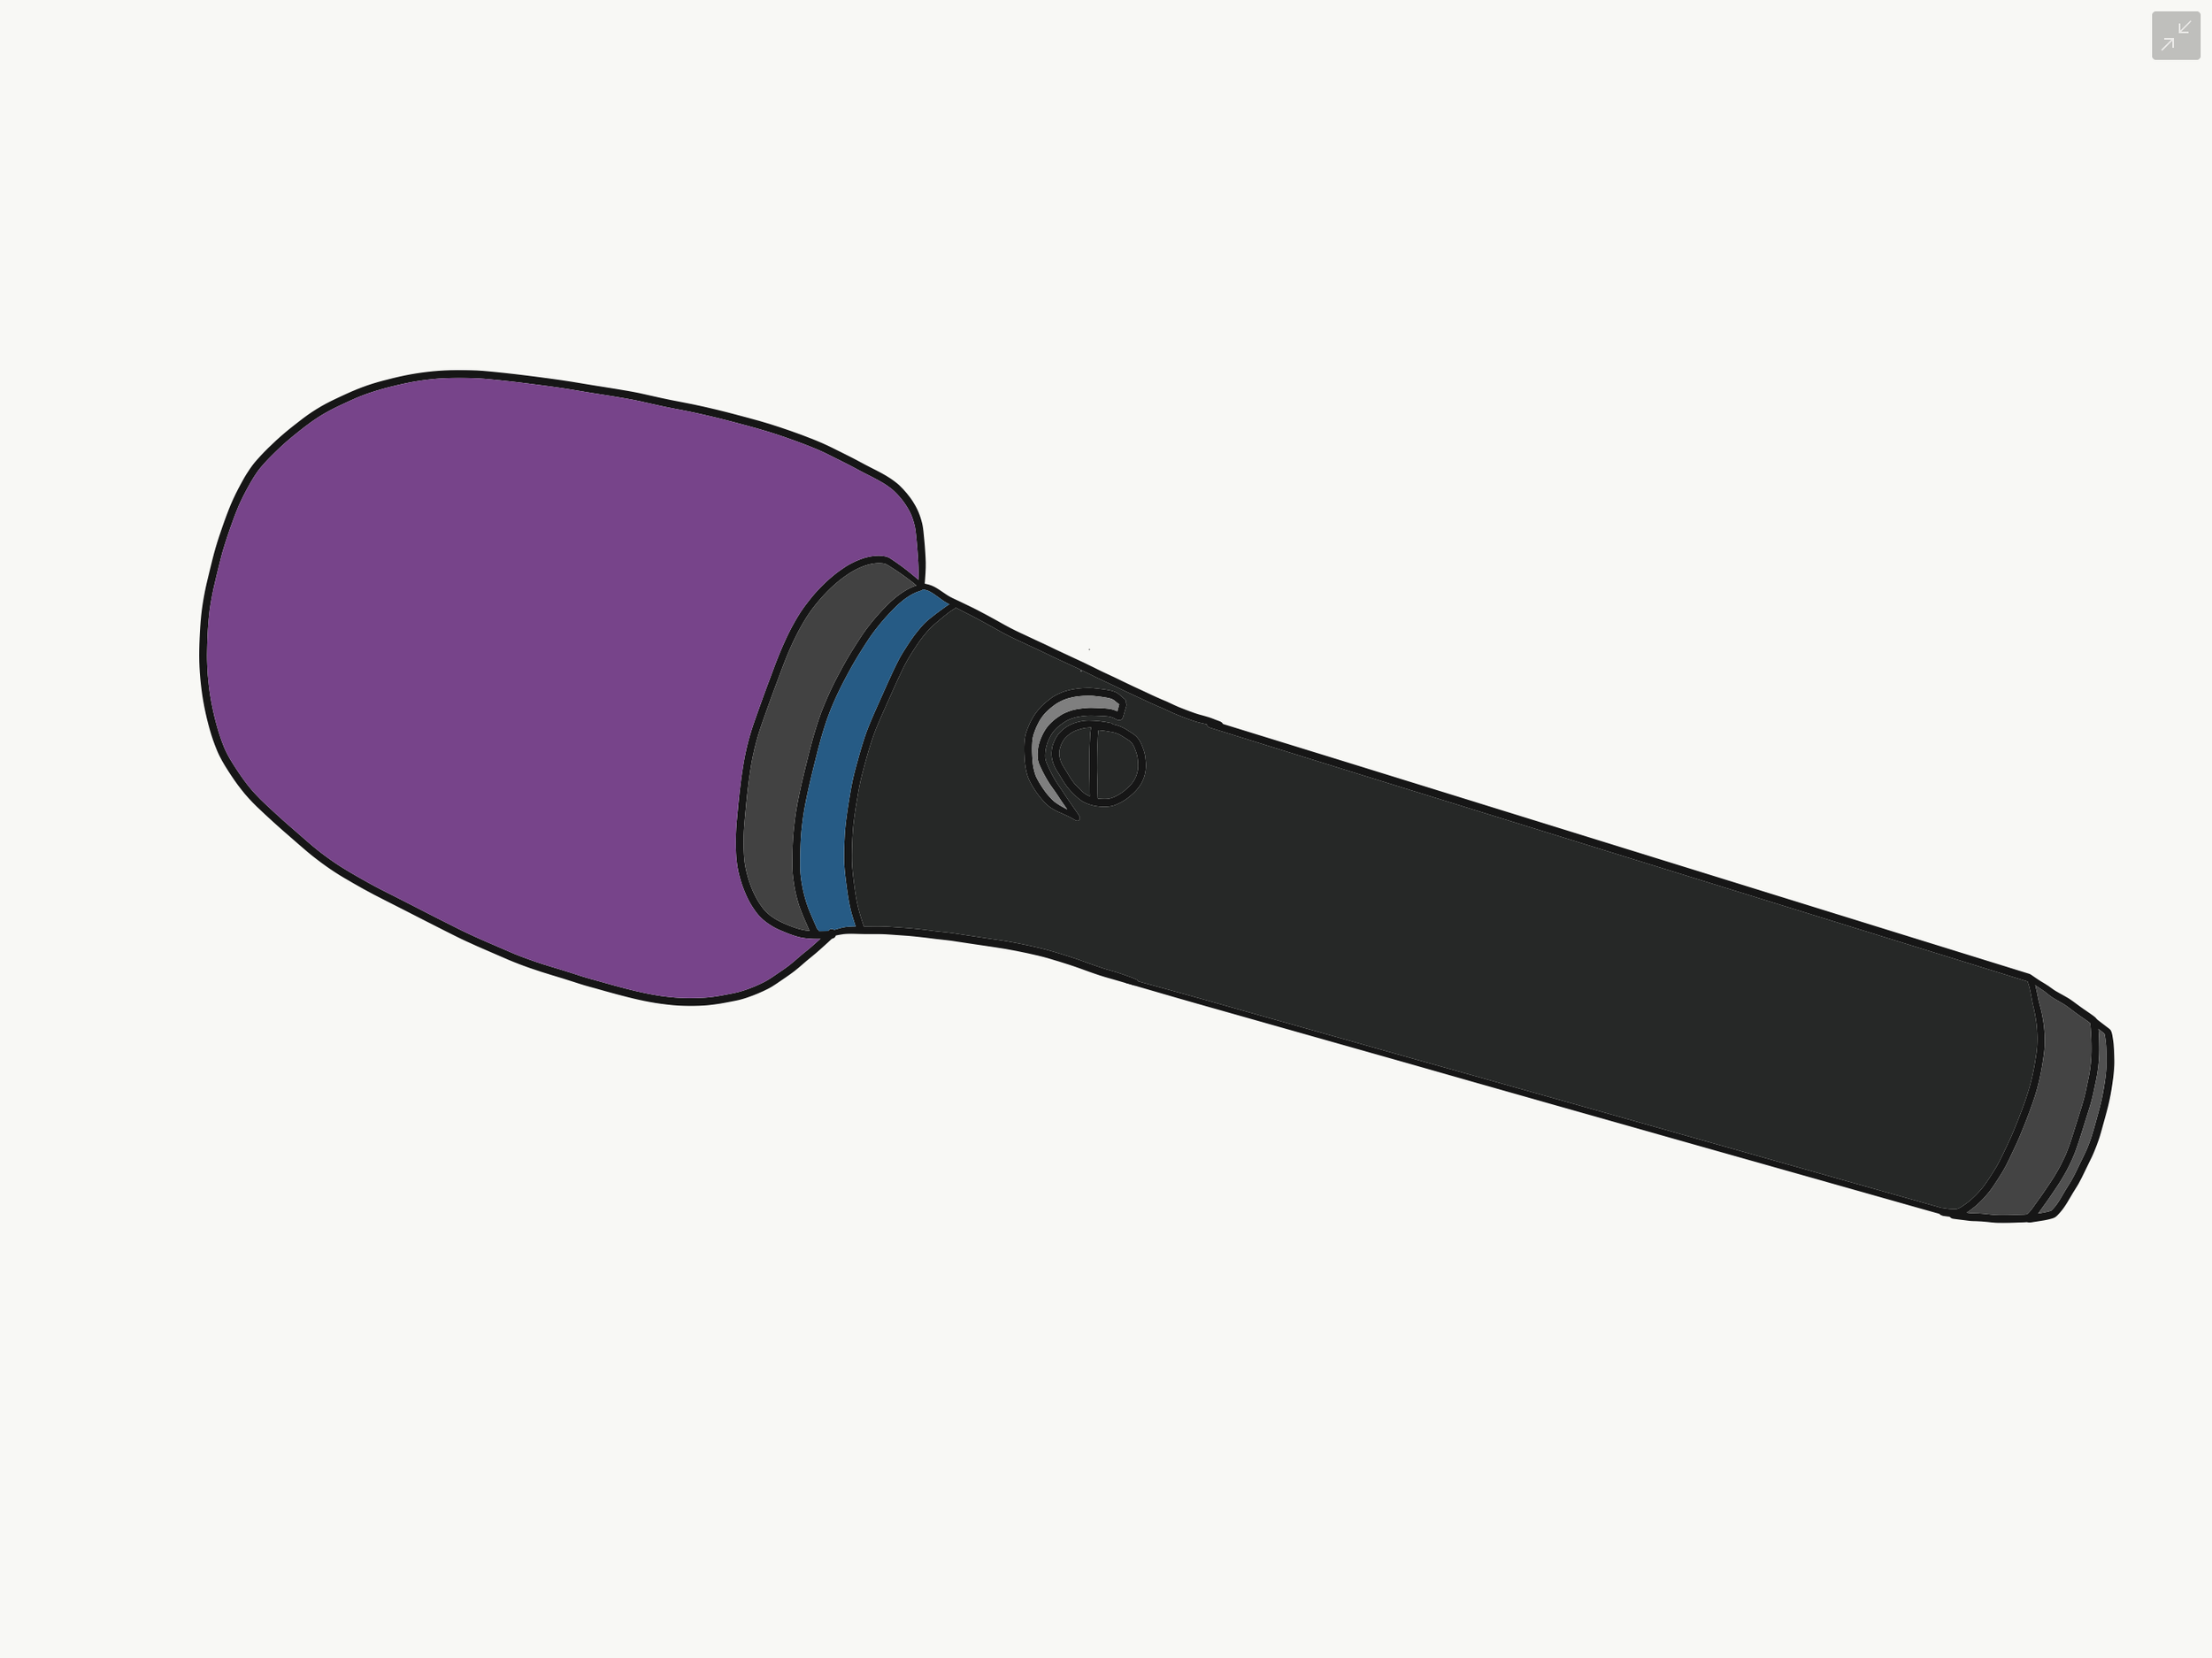
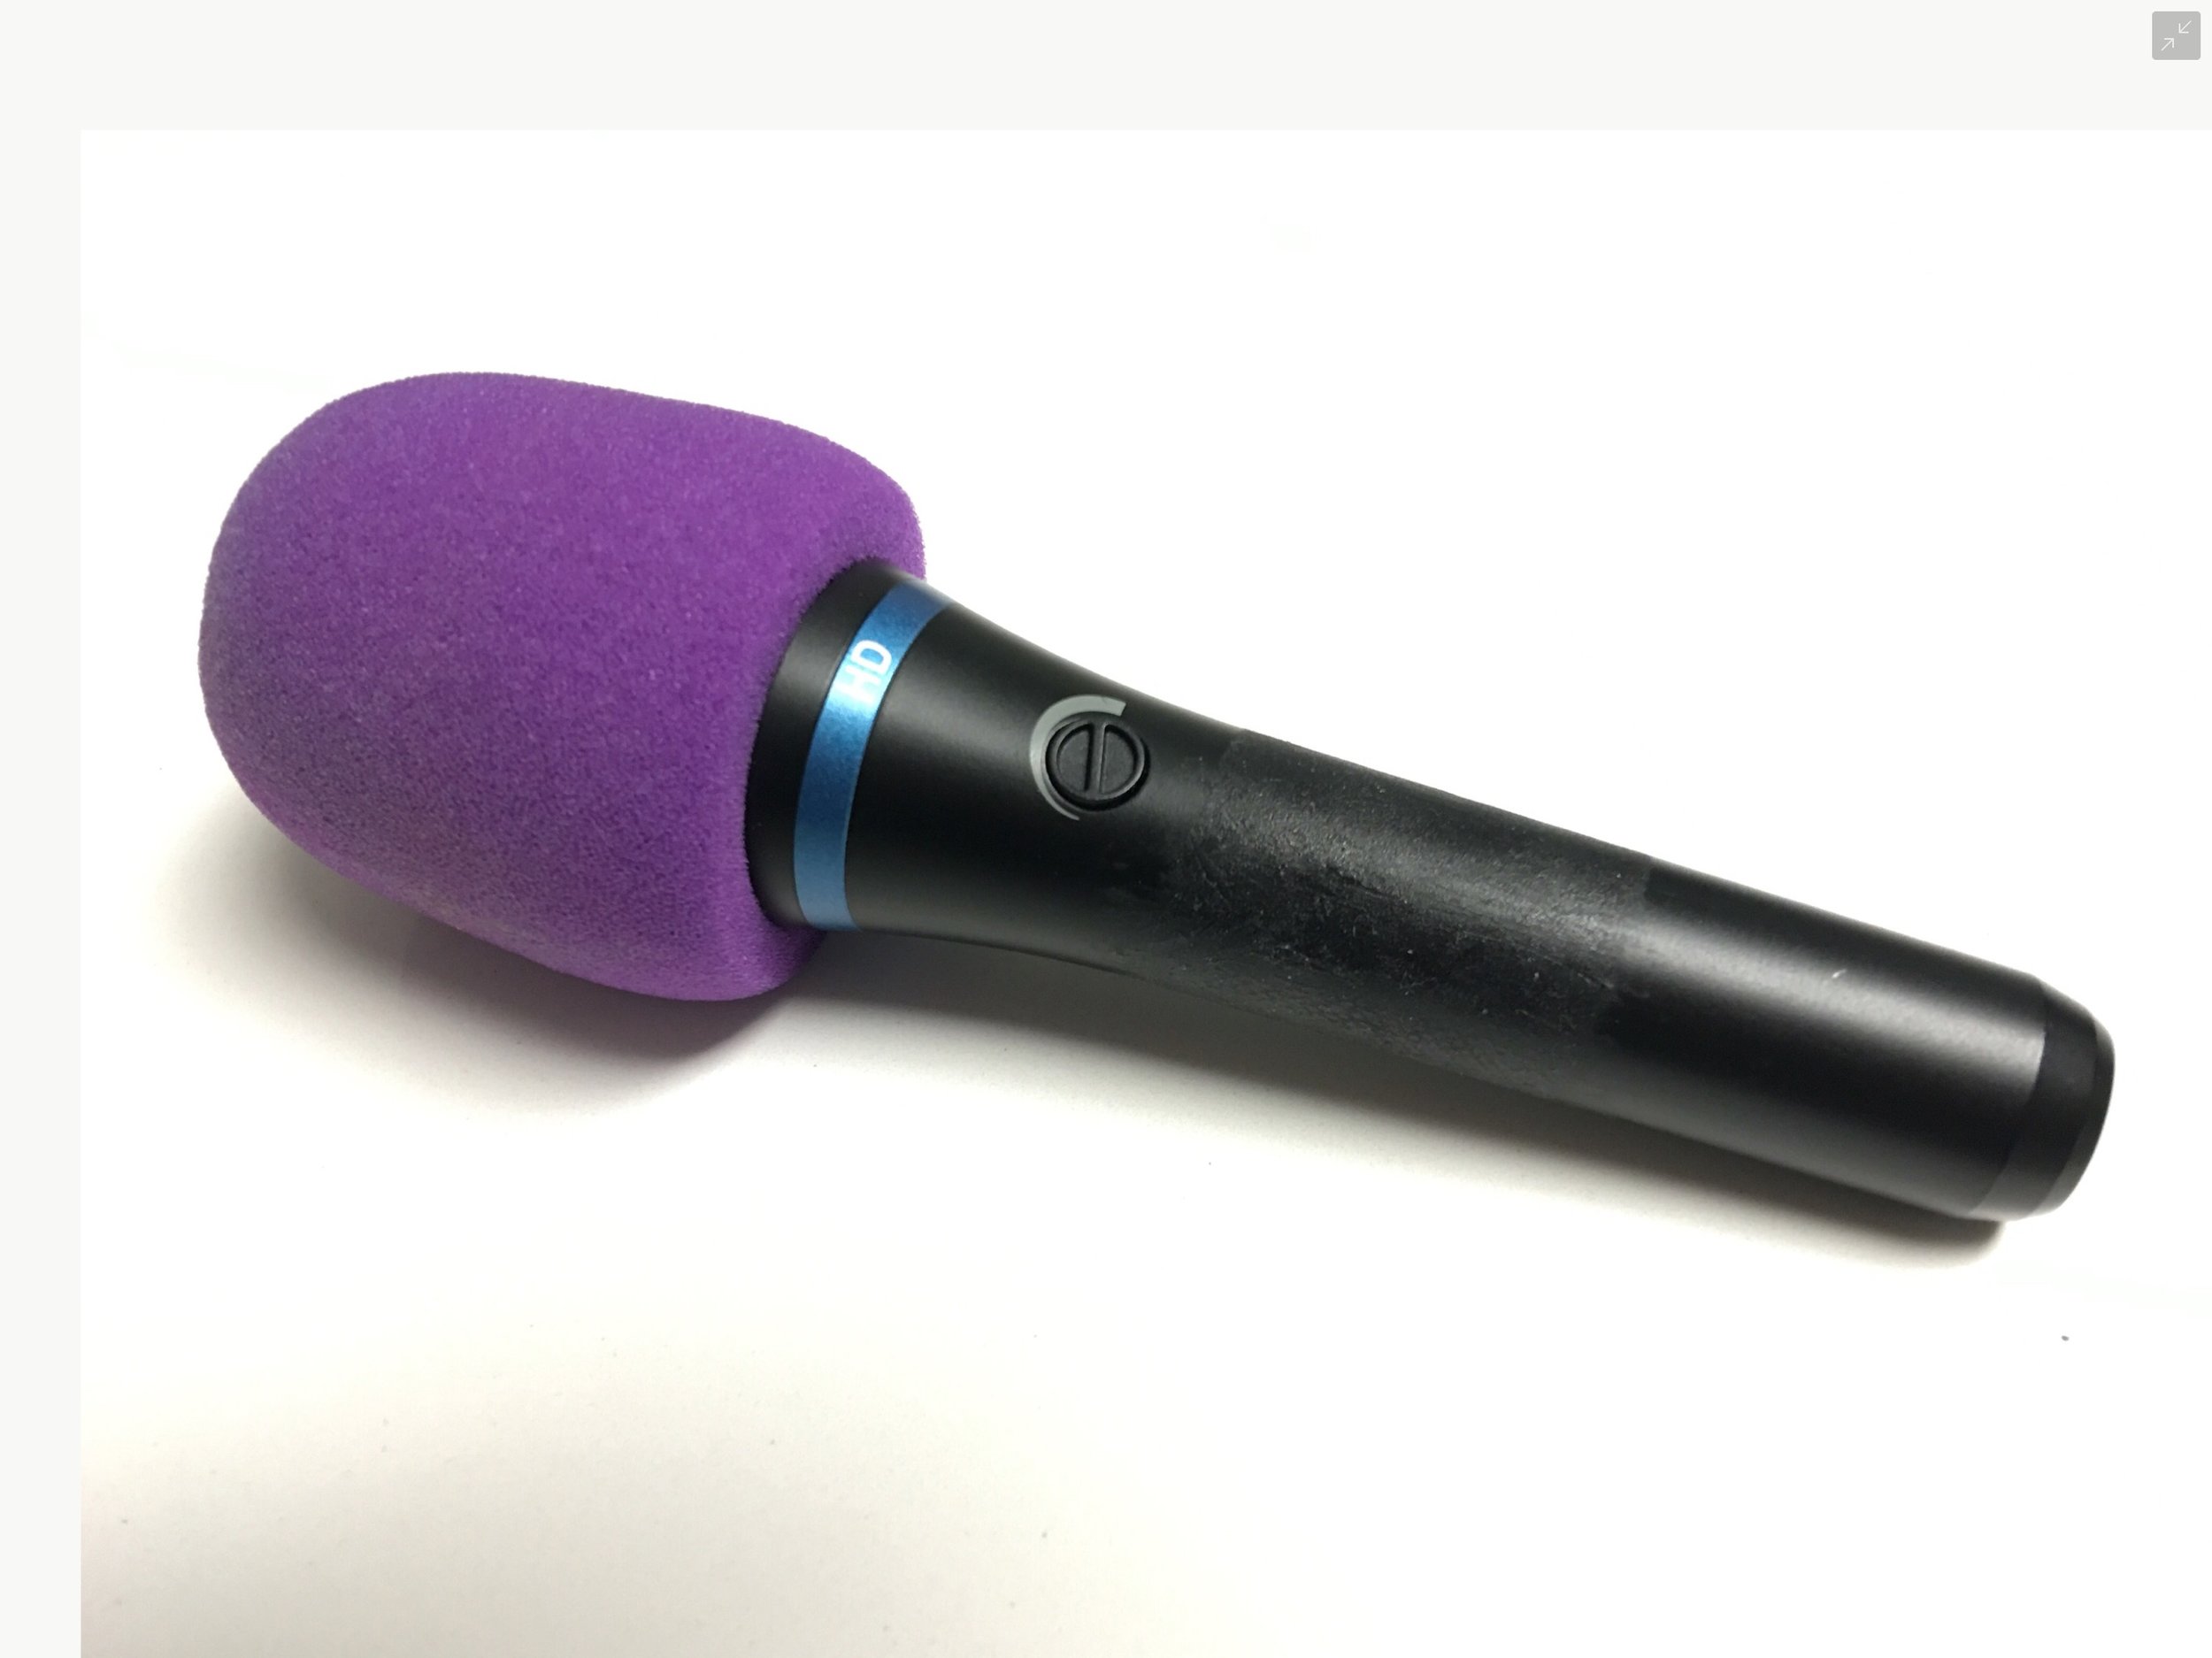
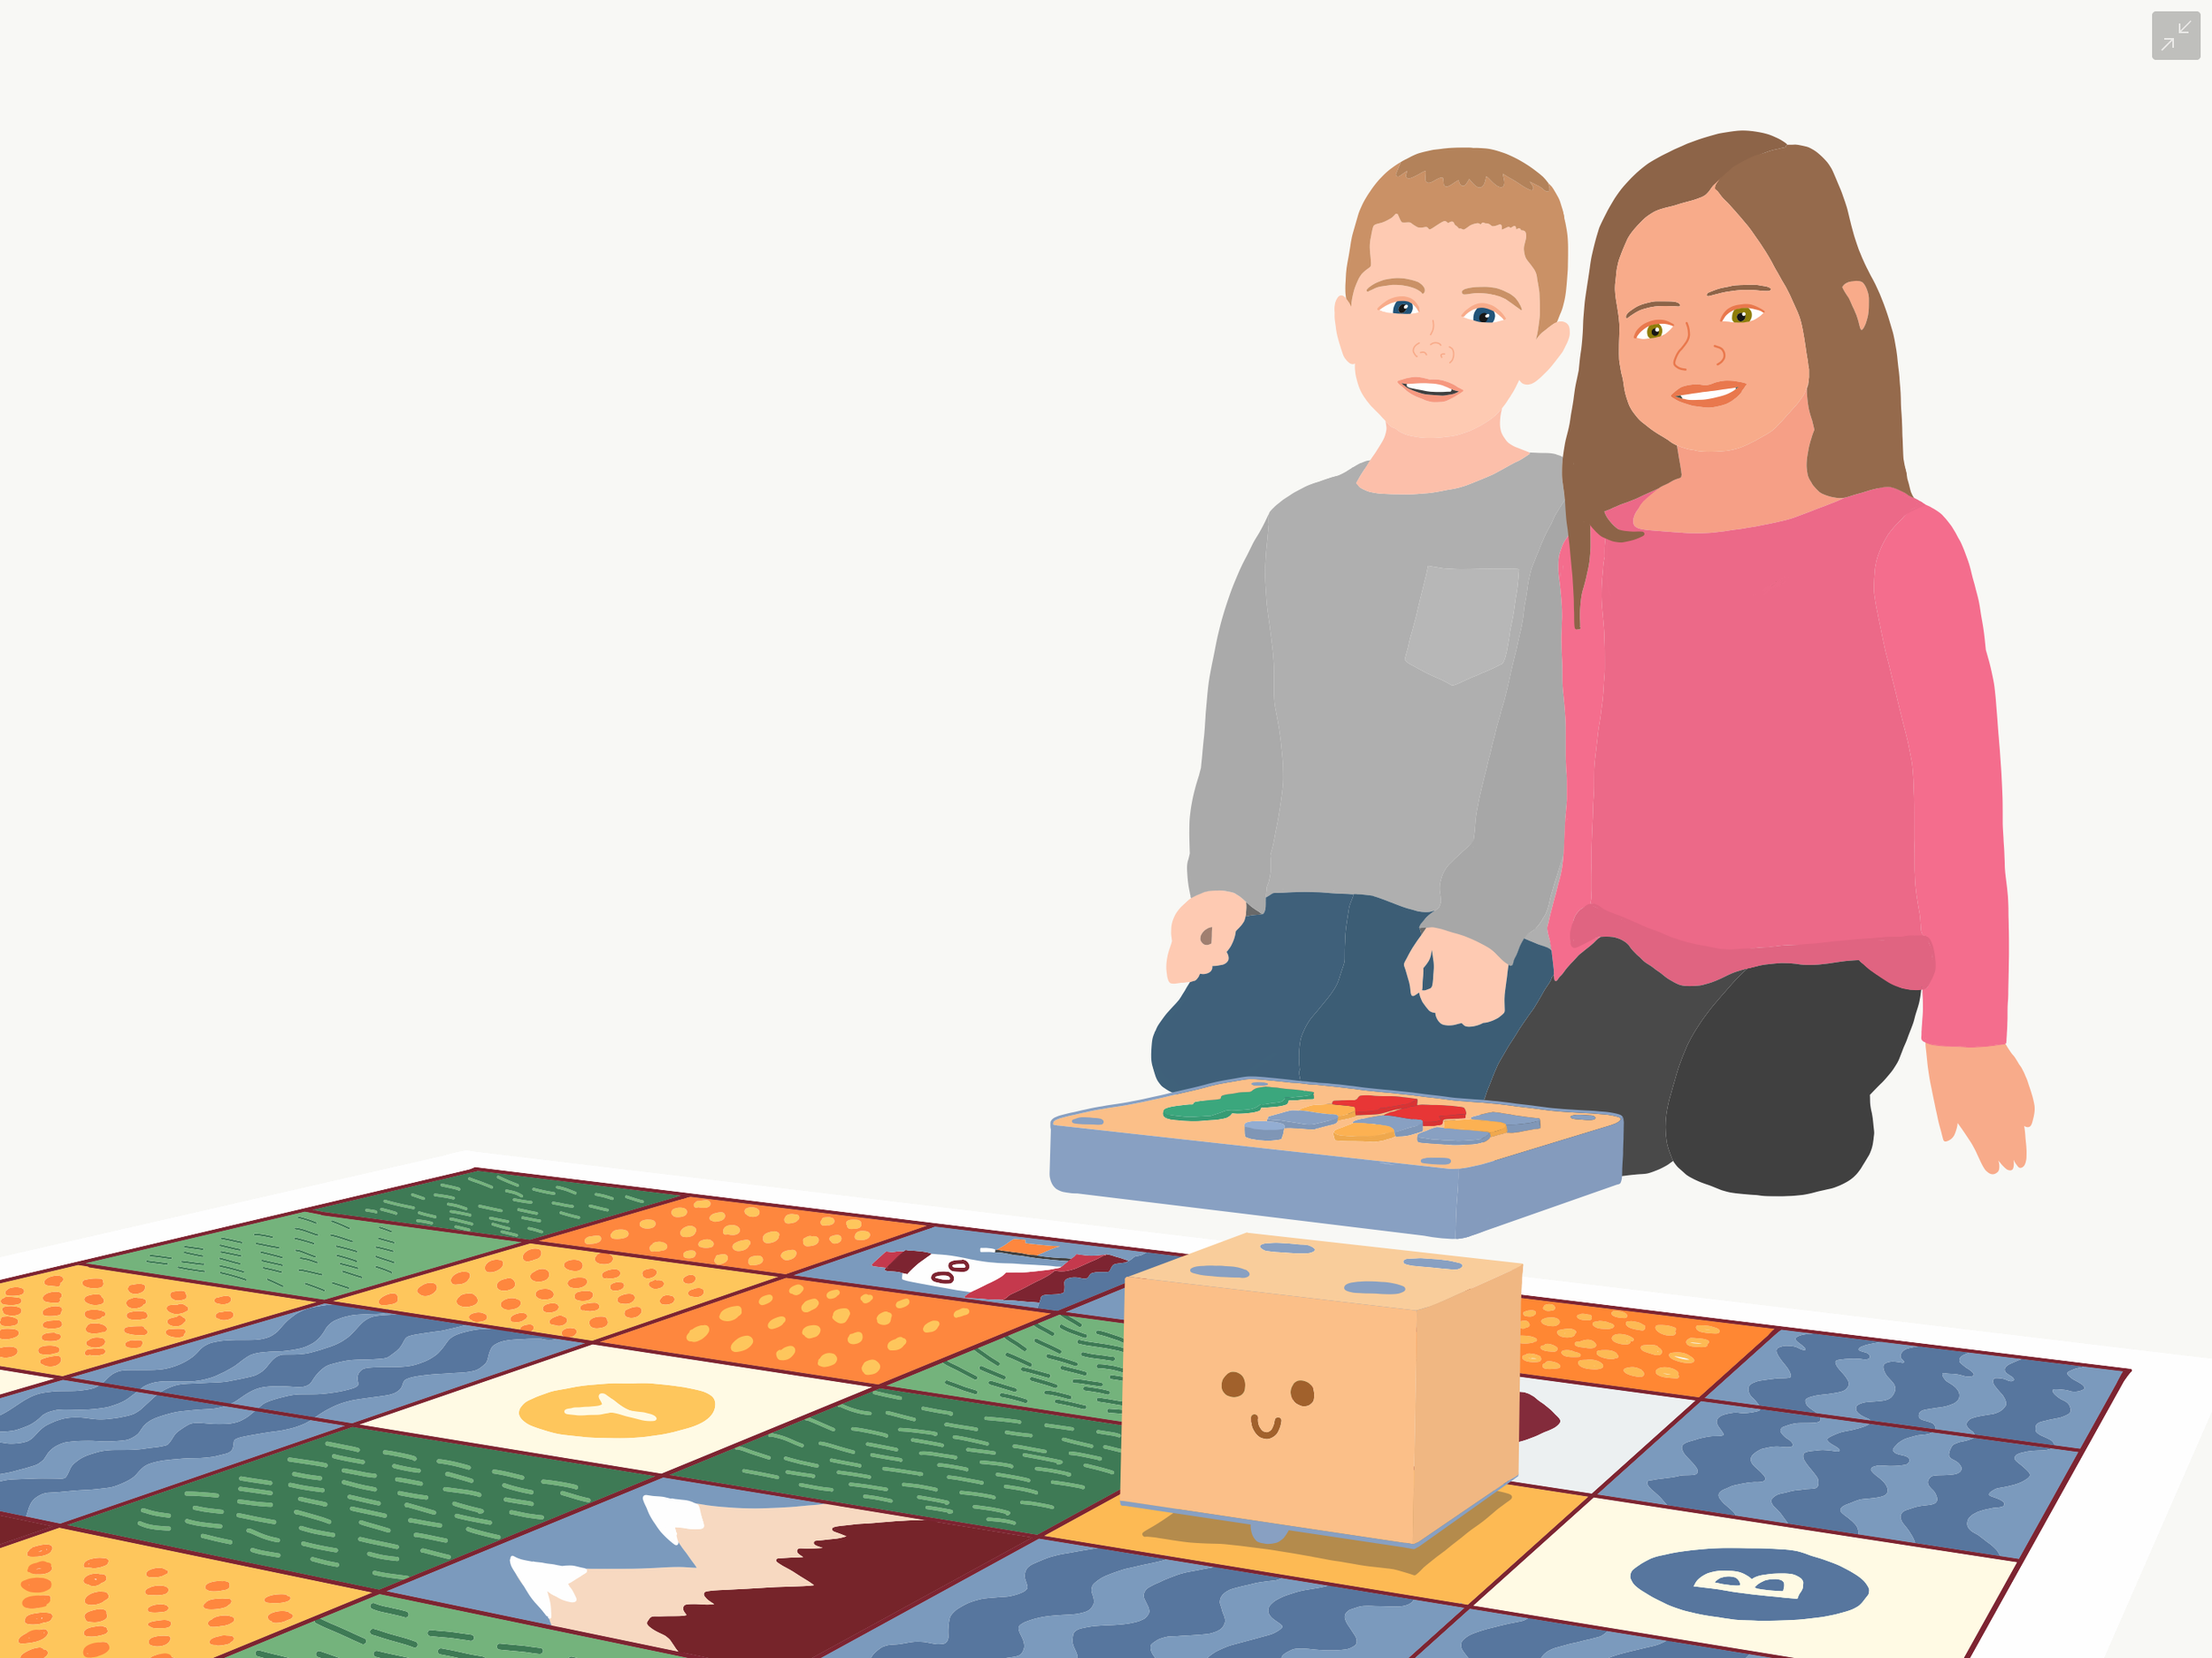
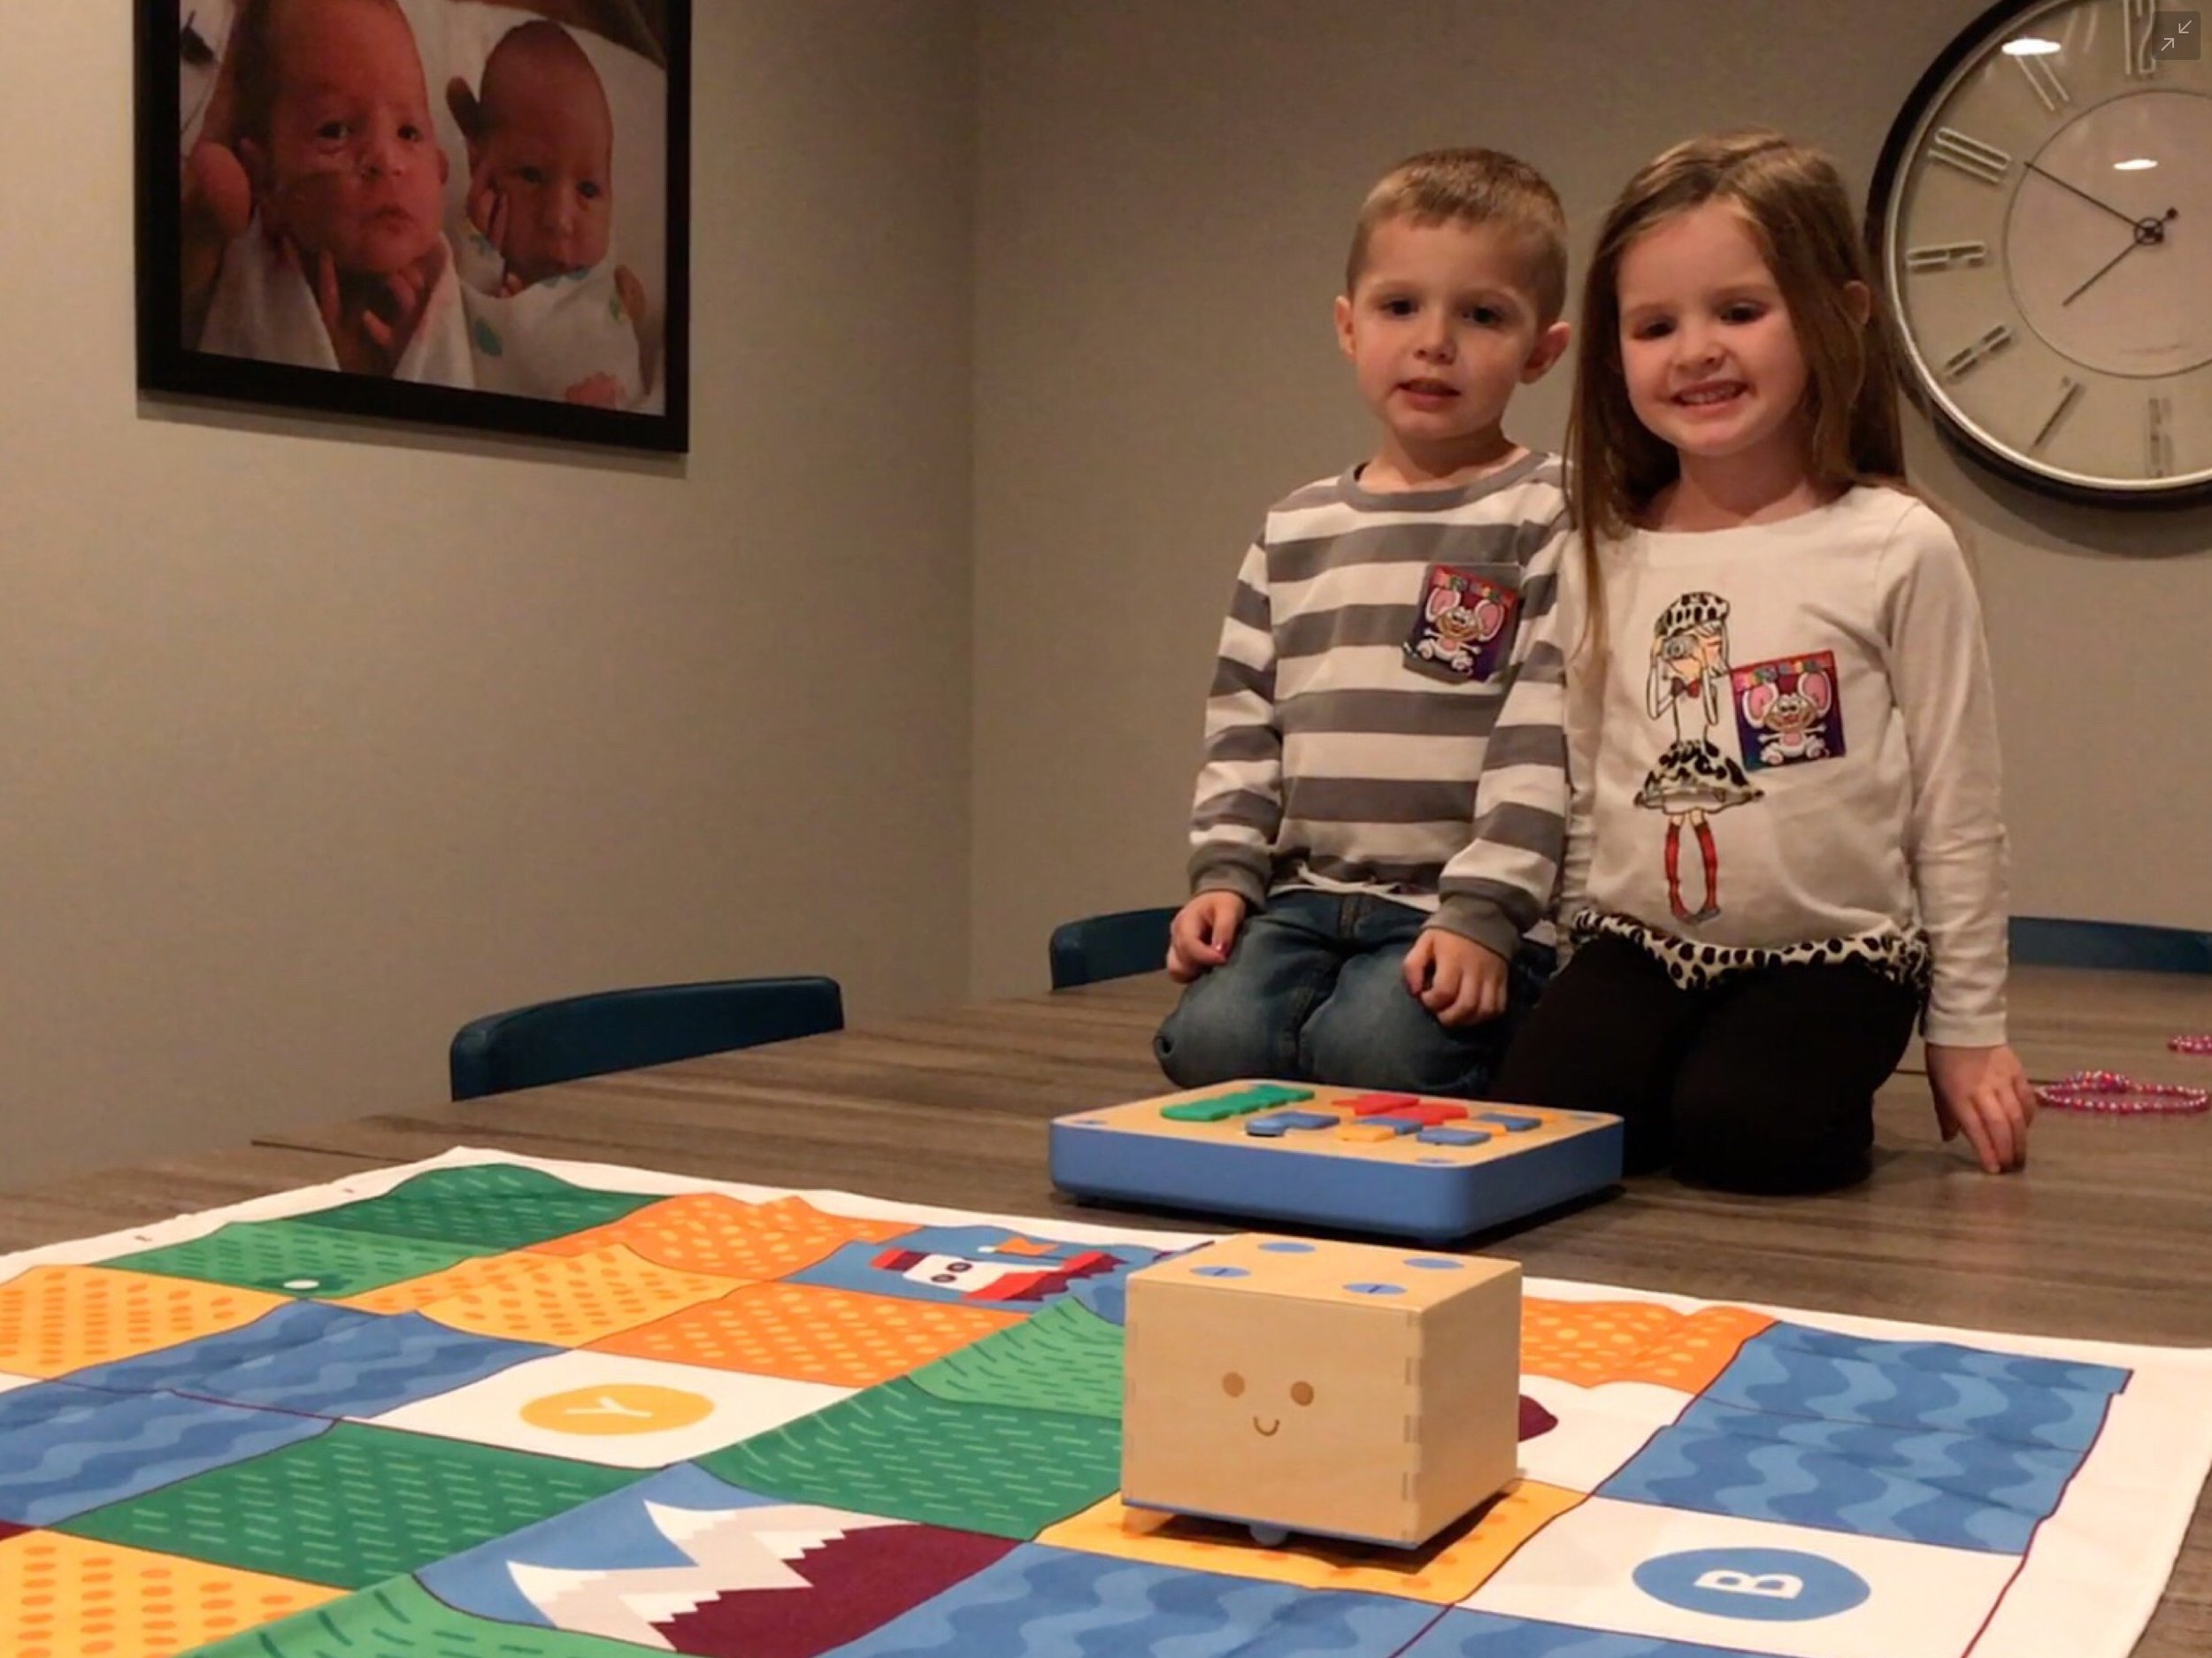
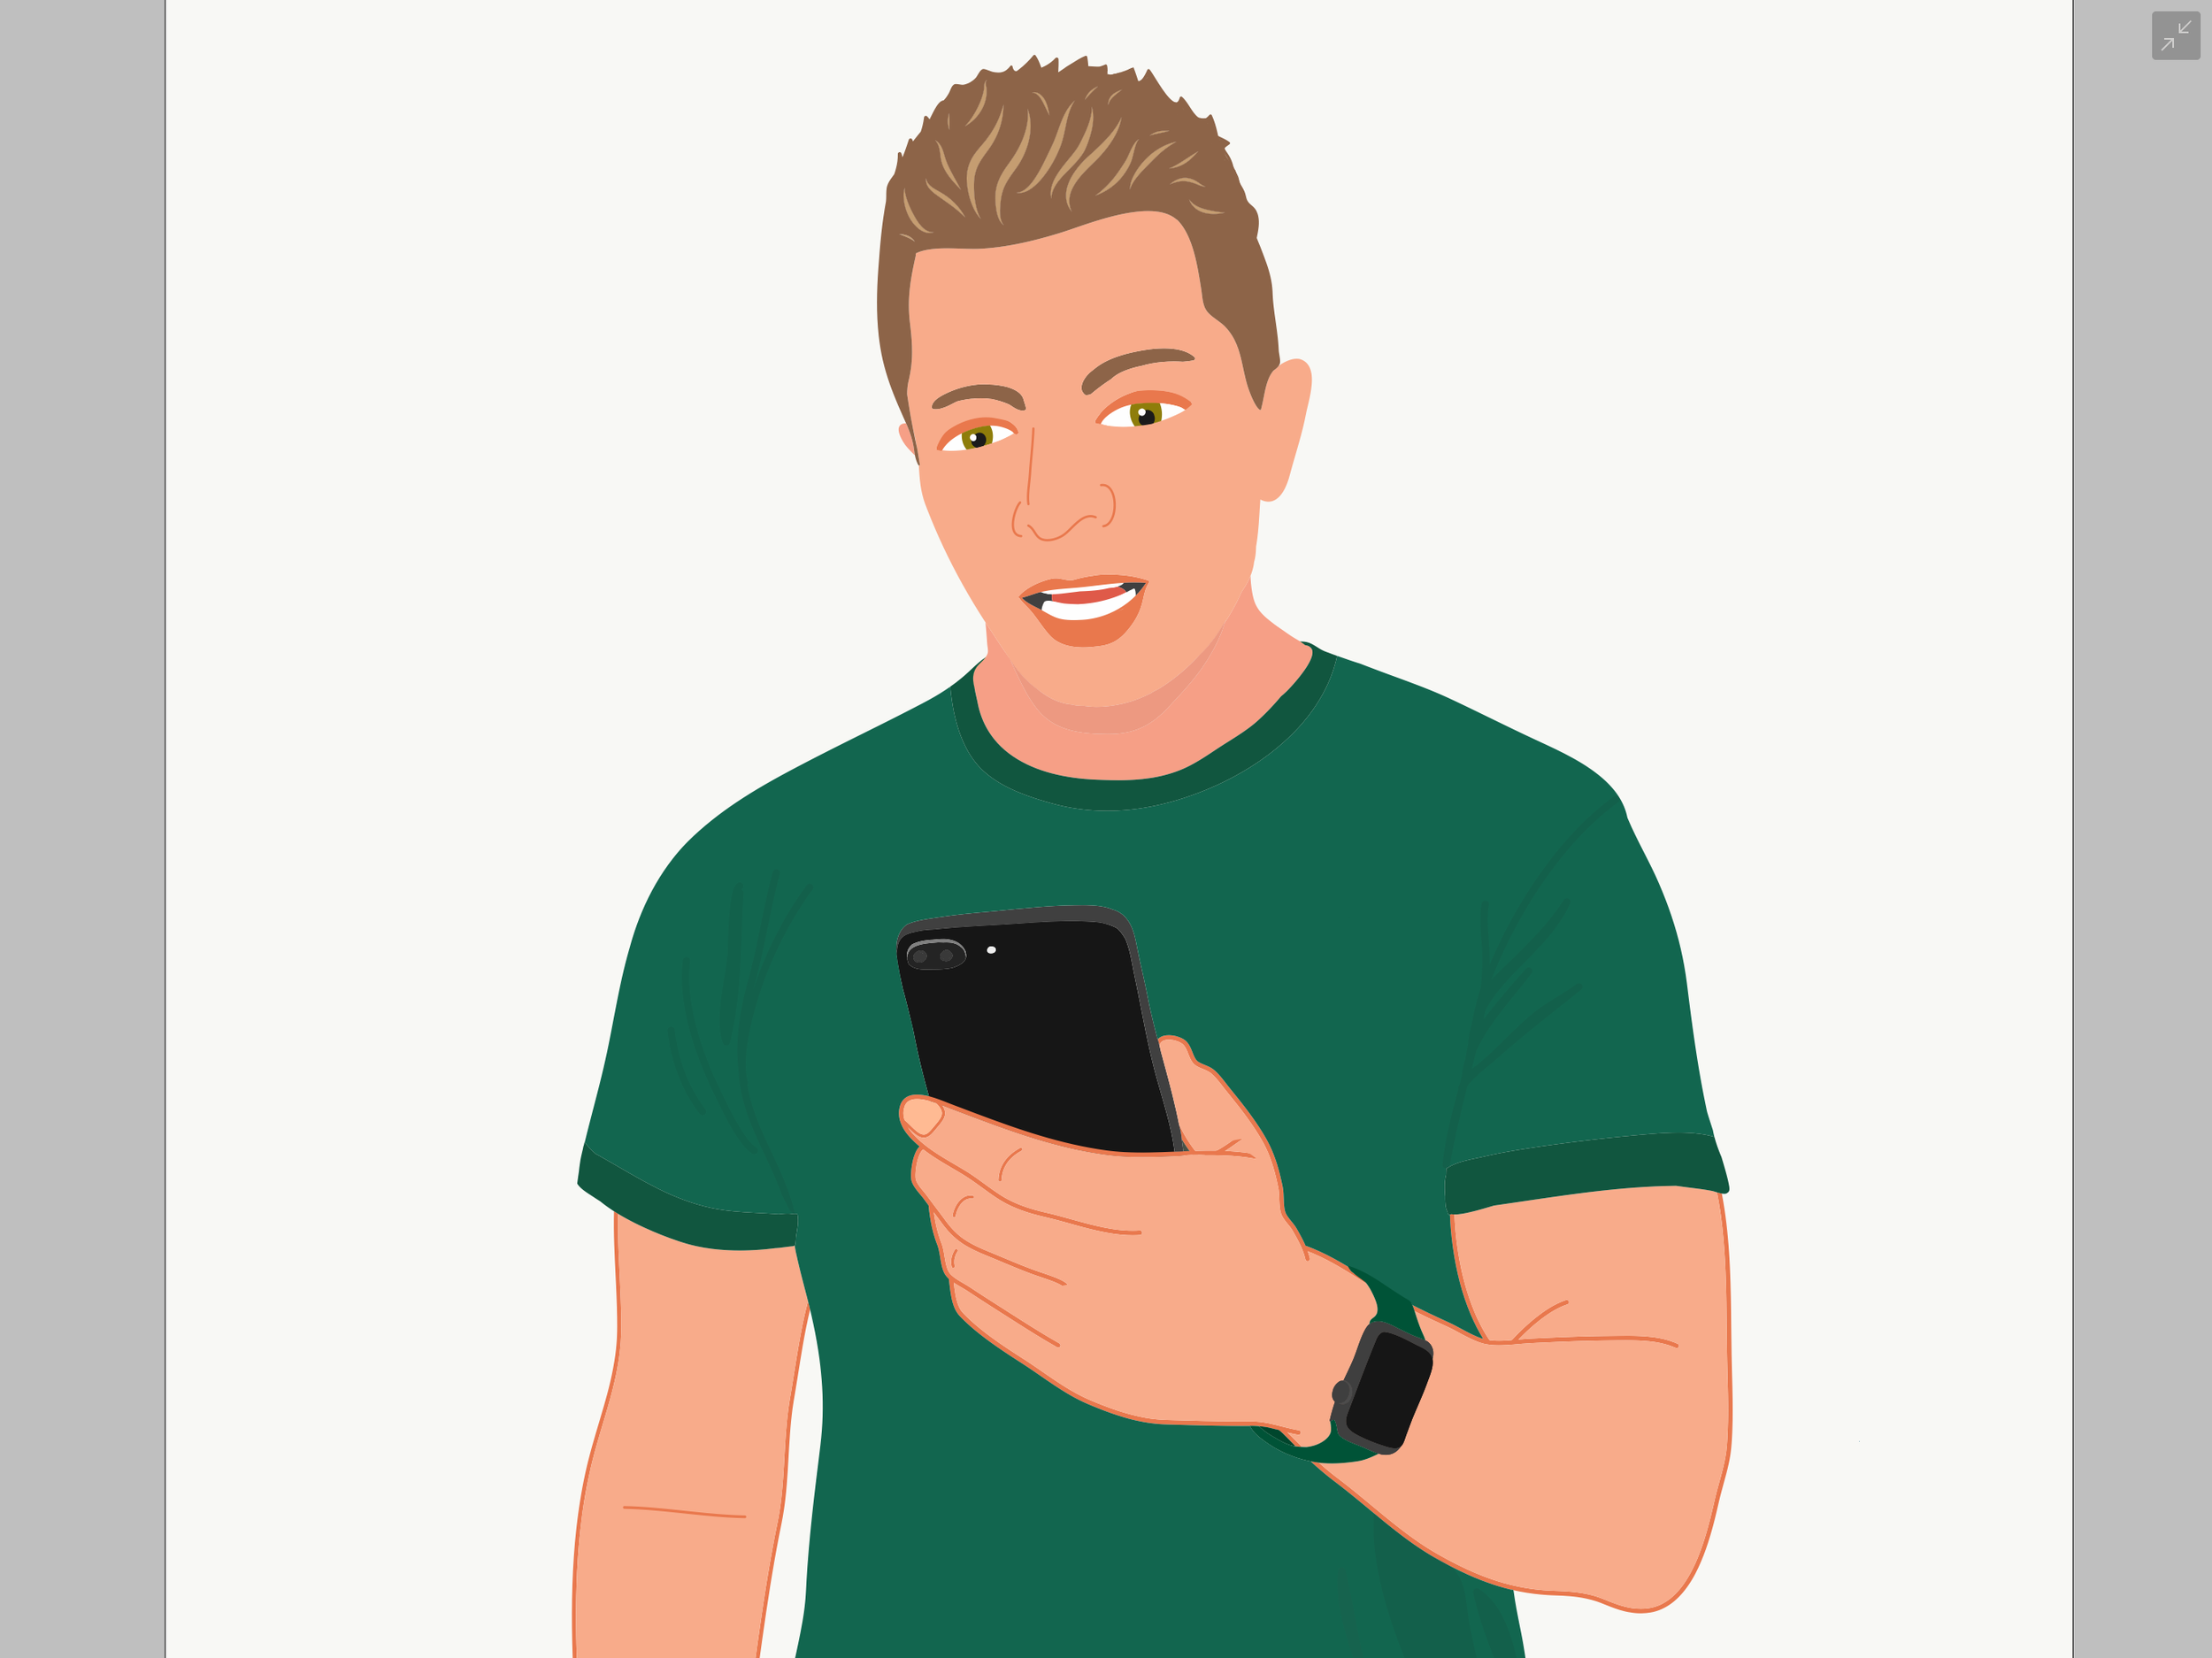
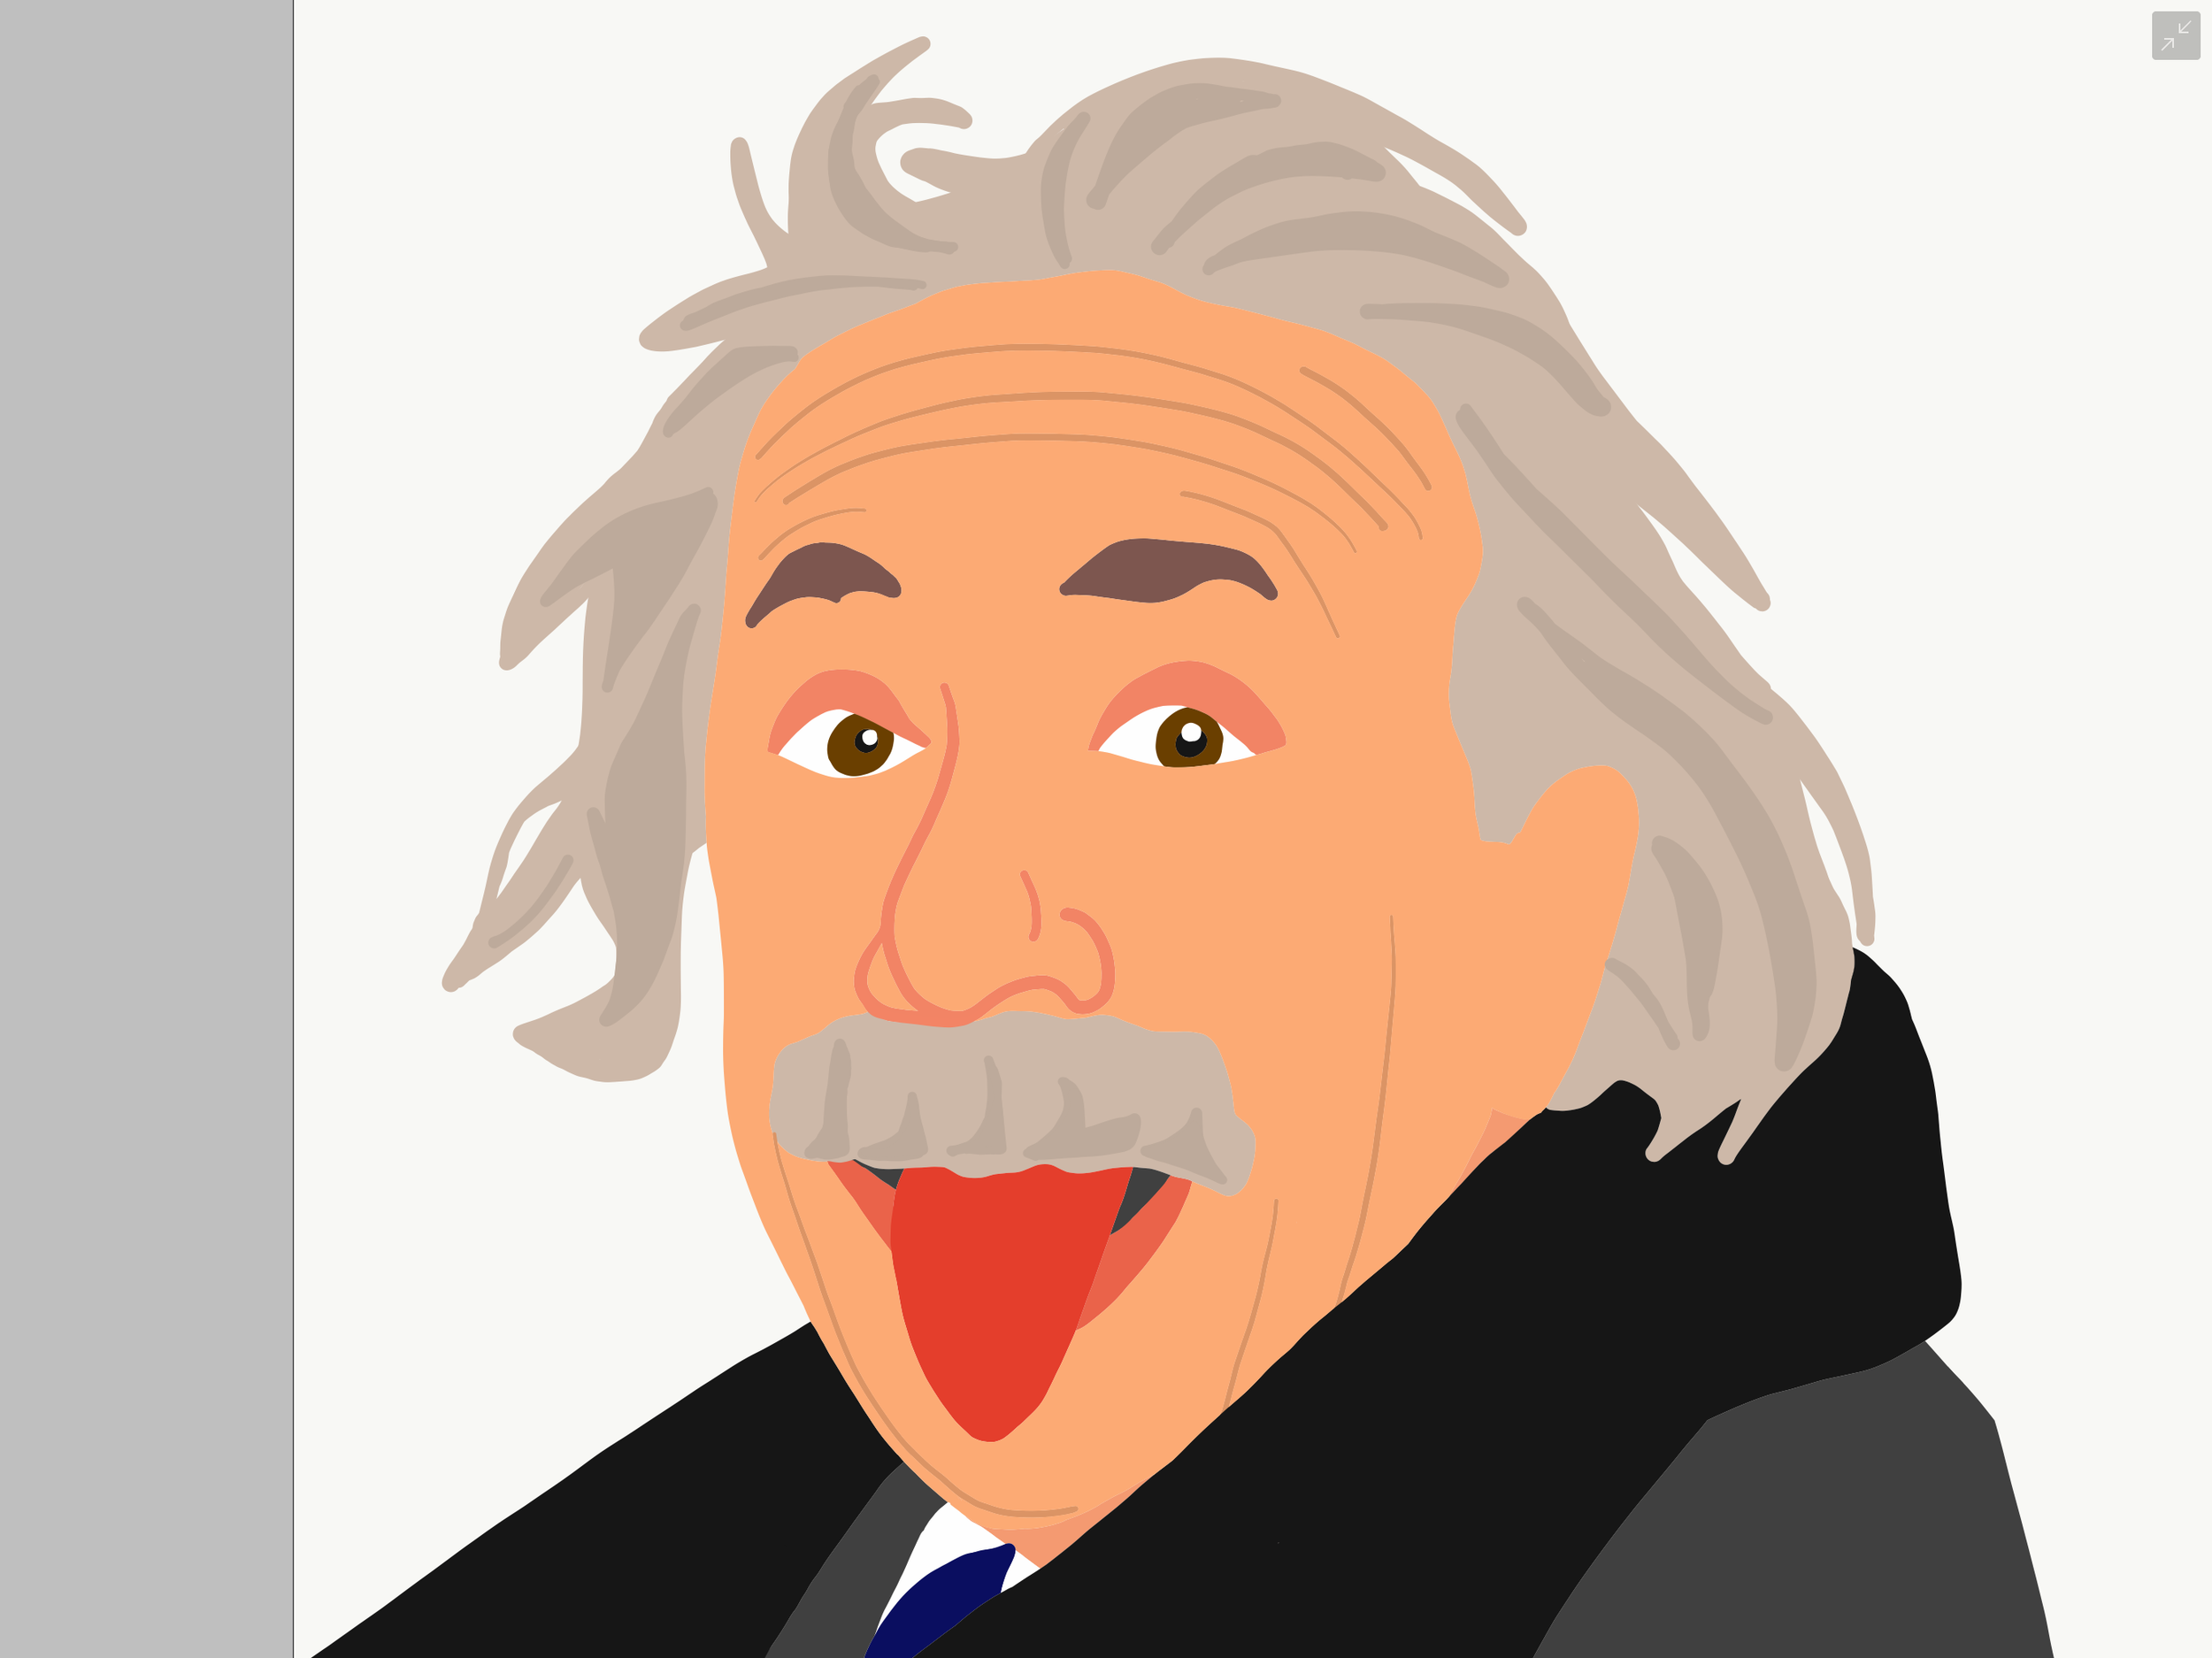
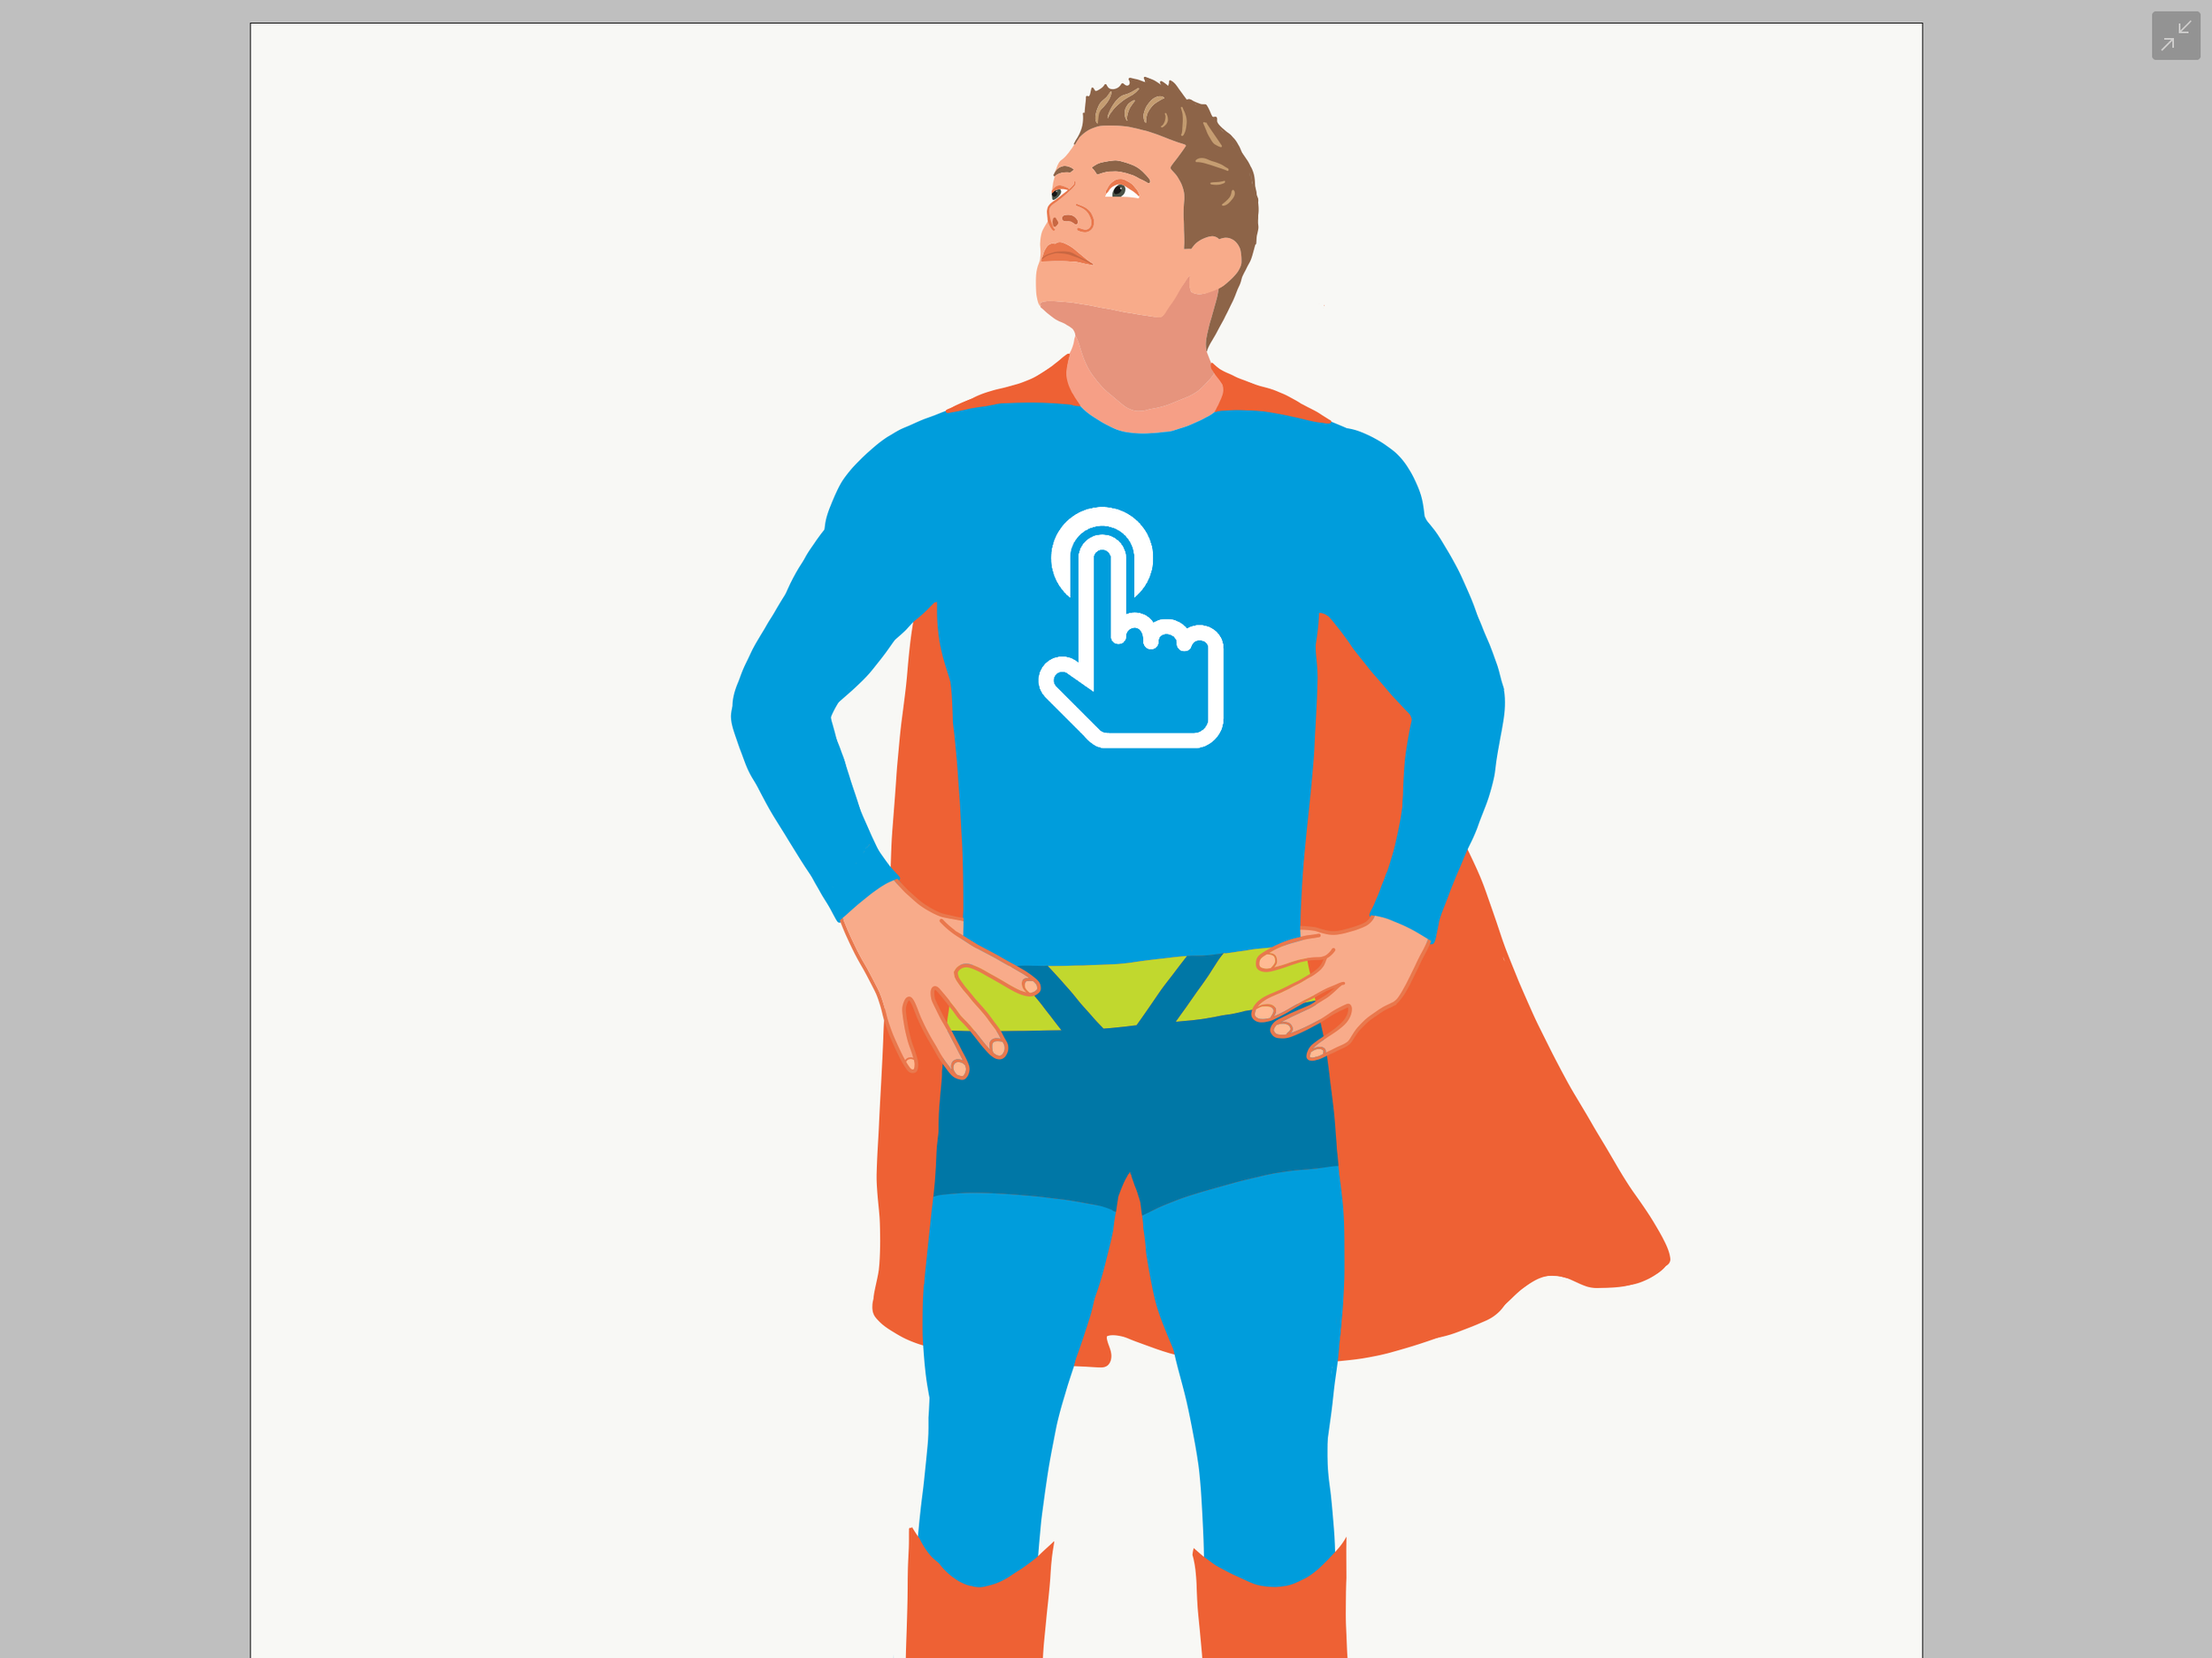
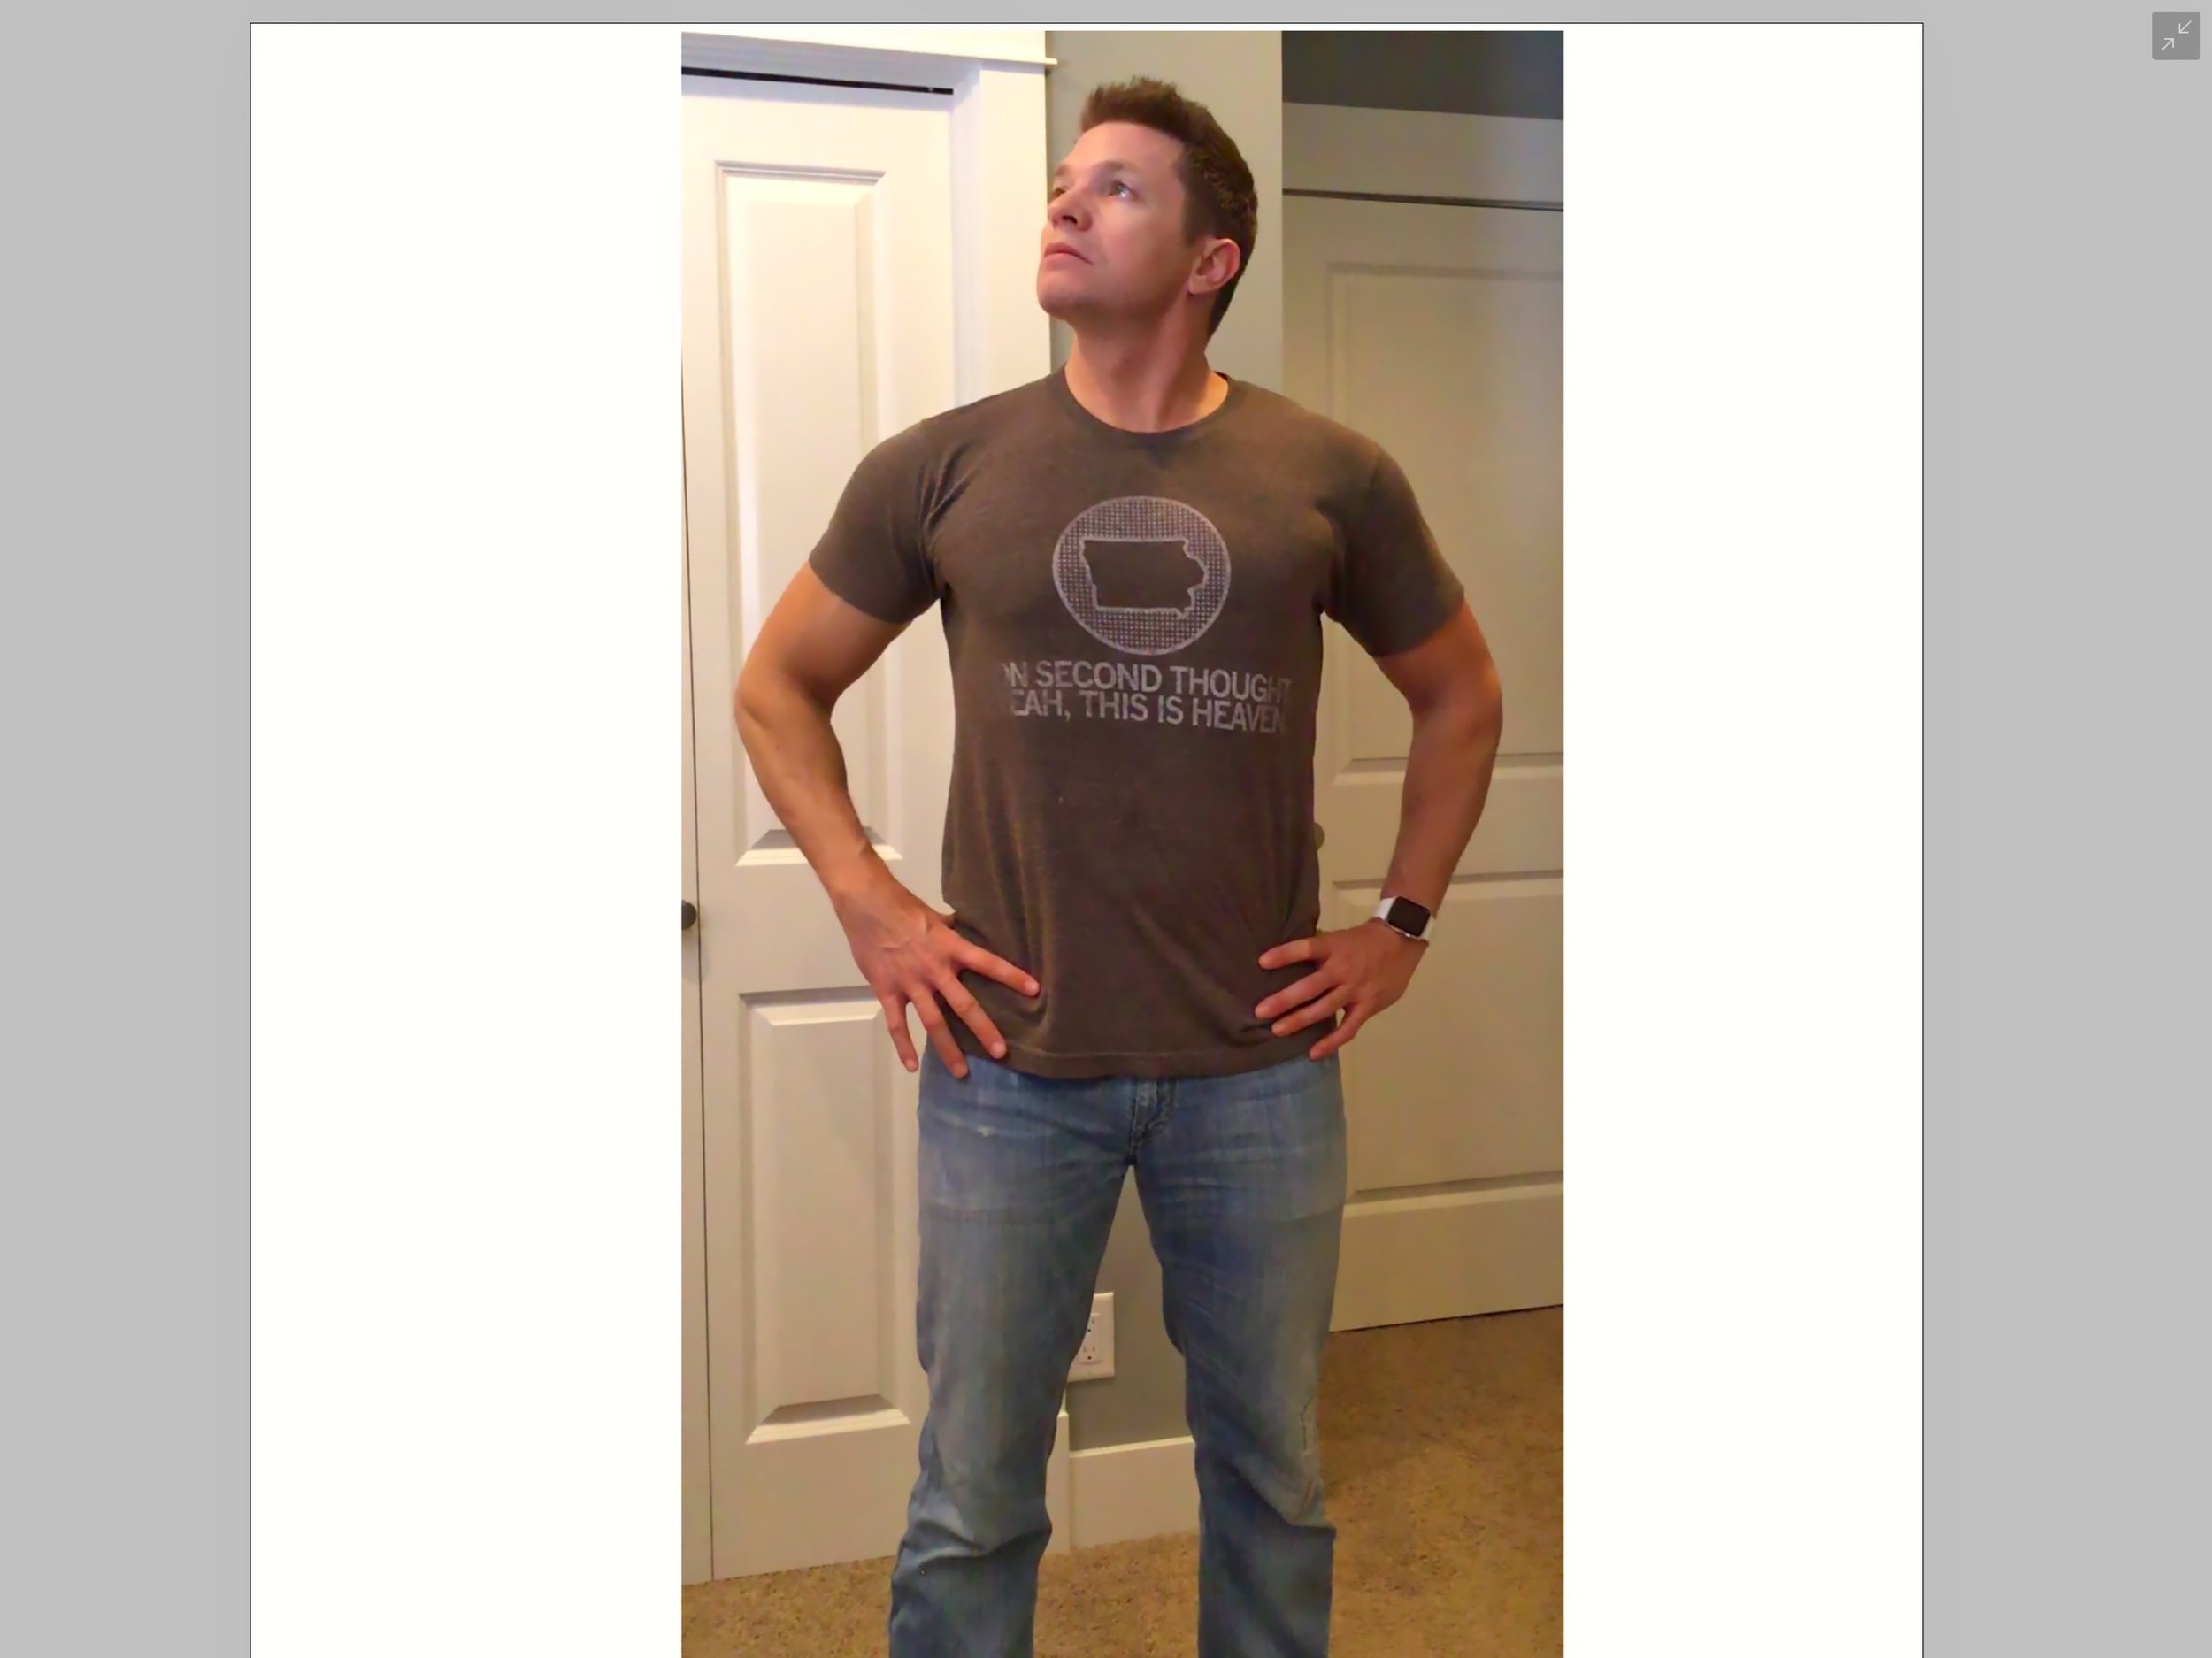
I thought I’d share some before and after images so you can see the original photo and the drawn illustration. Drag the sliders below to compare. As you will see, I keep my drawings simple—I eliminate distracting backgrounds and unnecessary details. You’ll notice that I often change clothing colors.


Why do you I draw my own illustrations?
- I’ve always wanted to be a cartoon!
- I save money. A professional designer would charge hundreds of dollars for a few custom cartoons.
- I can change details. I often make alterations to the original photos.
- The specific clipart I want is not available.
- I can place my artwork on any background because my drawings have transparency.
- My work has it’s own style.
- Drawing is relaxing and enjoyable for me.