
The Admin Console is relatively easy to use, although some settings can be hard to find. Remember to use the help features by clicking on the question marks throughout the console.
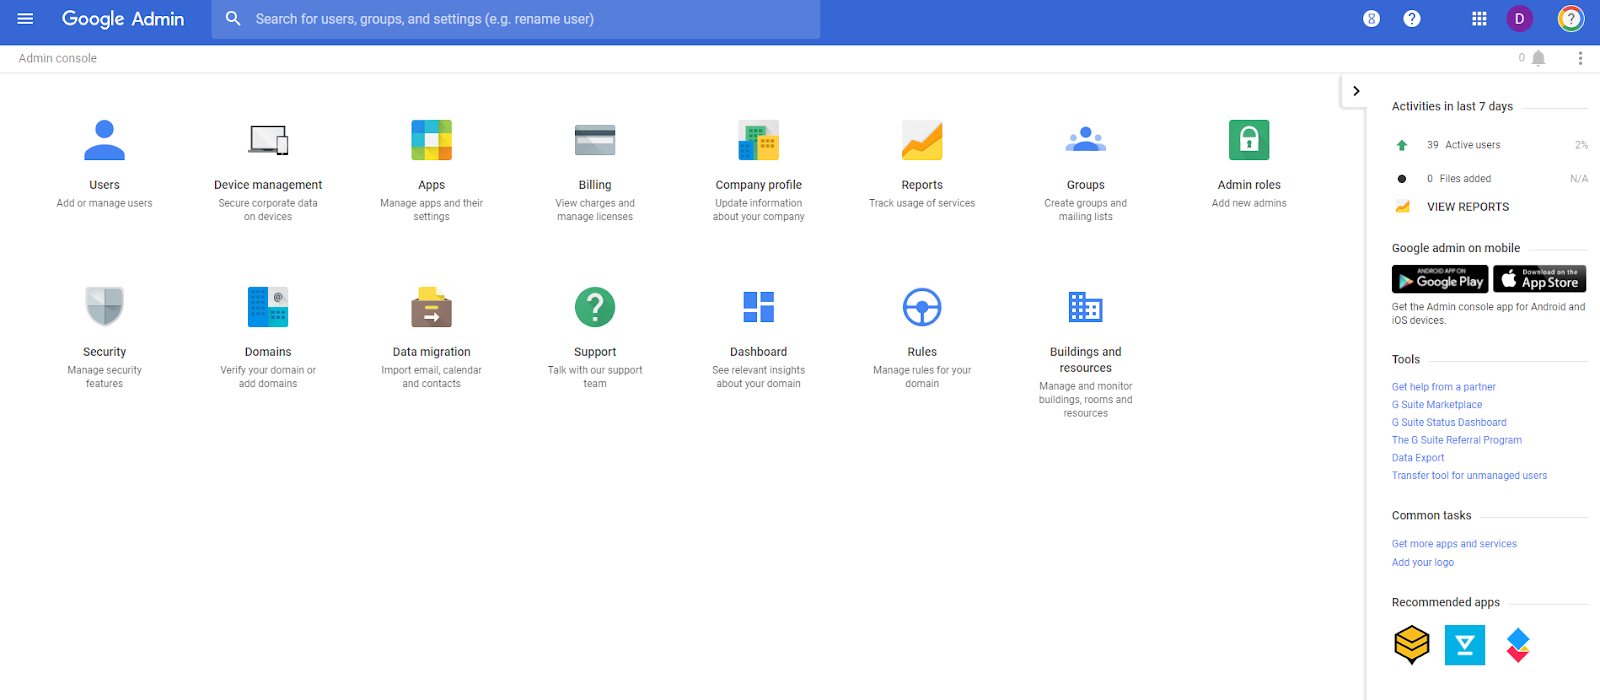
The icons on the console can be moved and arranged via drag-and-drop so you can put the ones you use most up front. Typically, Users, Device Management, and Apps are the most used.
Here are some excellent resources:
- Google Admin Console: Best Practices, Settings, Resources
- Resources for IT Teams (G Suite for Education) - Learn more about G Suite for Education and Chromebooks, review best practices for deploying the tools smoothly, and access support when you need it.
- Transition Guides - help prepare your organization for the switch to G Suite.
- Google Apps Certified Administrator - free online course
- Google Apps Administrator Help Site
- Google Chrome for Education Help Site
- Android Apps for Education - work on Chromebooks and Chrome OS Tablets too!
- Chromebook Inventory Tool - allows you to pull inventory and data of all of your Chromebooks from the admin console into a spreadsheet, manipulate it, edit fields, and sync back into the admin console
- Google EDU Transformation Center - Resources to lead your schools toward a vision of change
- Google for Education Training Center - excellent resource for teachers on using Google Apps in the Classroom
- Benefits of Google Apps and Chromebooks - lots of resources, information, tips and ideas
- Google Apps and Chromebooks Resource Page – lots of resources, tips, articles and links
Outside of the Admin Console settings, here are some important things to consider:
- Backup of data outside of G Suite? There are solutions available to backup your G Suite data. You should also make sure you have Vault enabled for your domain - https://support.google.com/vault/answer/2462365?hl=en
- Backupify, Druva, Spanning and more
- Acceptable use policies for G Suite, internet, devices, etc. Lots of schools post theirs online. Take a look at them and make sure you have a strong policy in place.
- Training and Professional Development - users (staff, teachers, and students) need training and PD on the proper and effective use of technology, including G Suite and Chromebooks. Look at some of the resources from Google, and find a good PD partner to assist. You can also push out this free add-on from Google that gives in-app support to your users: https://chrome.google.com/webstore/detail/g-suite-training/idkloemkmldbemijiamdiolojbffnjlh?hl=en
Gmail Attachment Compliance
Below are some of the main tips and settings to consider. Most of them are under Device Management. This is not a complete list, but one to help you get started.
Admin Accounts: ("Admin Roles")
You can designate users at different levels of admin access. There are preset roles and you can create your own. You should have at least two Super-Admins in case one is out. Help Desk admin can only reset passwords for non-administrators and are good to have in each school.
User Settings:
Organizational Units (set under Users) - you will want to have at least the following OUs setup: Admin, IT, Faculty, K-8 Students, High School students. This allows you to customize the settings for each one. K-8 students cannot use Google+, so you will want Google+ turned off for them. You can also turn off outside email for them.
Under Apps, Click on Additional Google Services, click on the three vertical dots next to Google+ and click Turn Off or On for some Organizations and make sure it is off for K-8.
These settings apply to the Chrome Browser also (when a user logs into it)
Force-Installed Apps and Extensions: you can push out apps and extensions to all users. There are a few I recommend, including Office Editing. Here is a list.
Allow or Block All Apps and Extensions: you can either allow users to install any apps except the ones that you block, or block all apps except the ones that you allow. It is a local decision on how to manage this. Blocking all means your IT staff have to handle requests from staff. Allowing all means that some students might find some unsavory apps to install, but you can block them as you find them.
If you want to allow all except the ones you block, here is a list of some that you should block.
Allowed Apps and Extensions: create a list here if you are blocking users from installing them. Here are some lists of app recommendations.
- Google Apps and Chromebooks Web App Recommendations - a whole lot!
- Chrome (Browser and Chromebook) Extensions - my favorites and recommendations
Make sure you are saving Browser History if you want to track what users are doing.
I recommend turning on Safe Browsing, but that is a local decision.
You can also set up web pages to auto-load when a user logs in. Most schools set it up so that the district or school home page loads.
Another nice feature is the ability to block websites by user OU. You can enter as many URLs as you like. This means that those users cannot get to the site, even if it is allowed through your filter. This can be useful for more granular control.
You can also push out managed bookmarks, which is a great feature. You can push the district homepage, Google Apps page, student SIS system, etc for quick access by your users.
Turning off Outside Email for K-8:
Definitely turn on Forced Re-Enrollment. This will prevent users from factory resetting the Chromebooks and then taking them out of your domain. Even if they do factory reset the device, it will force them to re-enroll it in your domain and not allow them to use it.
Guest Mode - allows a user to access the Chromebook without an account. I recommend against this if you have GAFE accounts for all of your users.
Incognito Mode - turn this off for students also.
Sign-In Restriction: this allows you to restrict which accounts can be used to login to a Chromebook. Most schools do set this to restrict logins to their GAFE accounts only. It is one more feature that makes Chromebooks less attractive to thieves.
Kiosk Apps - this is where you would install testing apps for PARCC and SBAC. Kiosk apps run without a user needing to login to the Chromebook itself.
Auto-Updates - allow this unless you have concerns about a new version of Chrome OS causing an issue with an app. For example, SBAC is only setup for Chrome OS 41, so while auto updates are turned on, you can limit the version to 41 and it won't update to the latest version which is 42.
Device Reporting - enable this and user tracking so that you can see the device info when you select a device. You can also see who the last user was, which can be helpful in tracking a missing device.
Do Not Erase Local User Data - this will keep the user account on the Chromebook which speeds up logins. Shared Chromebooks can support a lot of users (I've seen up to 20 different users on a single Chromebook).
Disabled Device Return Instructions - if you disable a device, it will show a message on the screen asking for it to be returned. You put in the address and contact info.
Device Management>Network:
Network Settings - you can, and should, put in your network settings here so that the Chromebooks automatically connect to your WiFi. You can even put in a hidden SSID and all of the security and passwords here. Apply to Devices, and then restrict to Chromebooks.
Related:
Google for Education Resources (Google Apps, Chromebooks and more)
Note: I oversaw the successful deployment of over 11,000 Chromebooks and 26,000 G Suite user accounts in my home district as CIO and have assisted over 400 school districts to successfully deploy G Suite and Chromebooks. I am a Google Certified Administrator, Deployment Specialist, Success Manager, Trainer and Educator.
- updated June 2019
.